Want to Improve Your Hand Cut Dovetailing? This Blanket Chest is For You
Full Video Instructions plus so much more...
- Sketch Up Model
- PDF Templates
- Magazine Style Process Document detailing each step
- Parts List
- Hand Tool School Community Access
- The Hand Tool School Tool Library & Sharpening Content
- Weekly Tip Videos
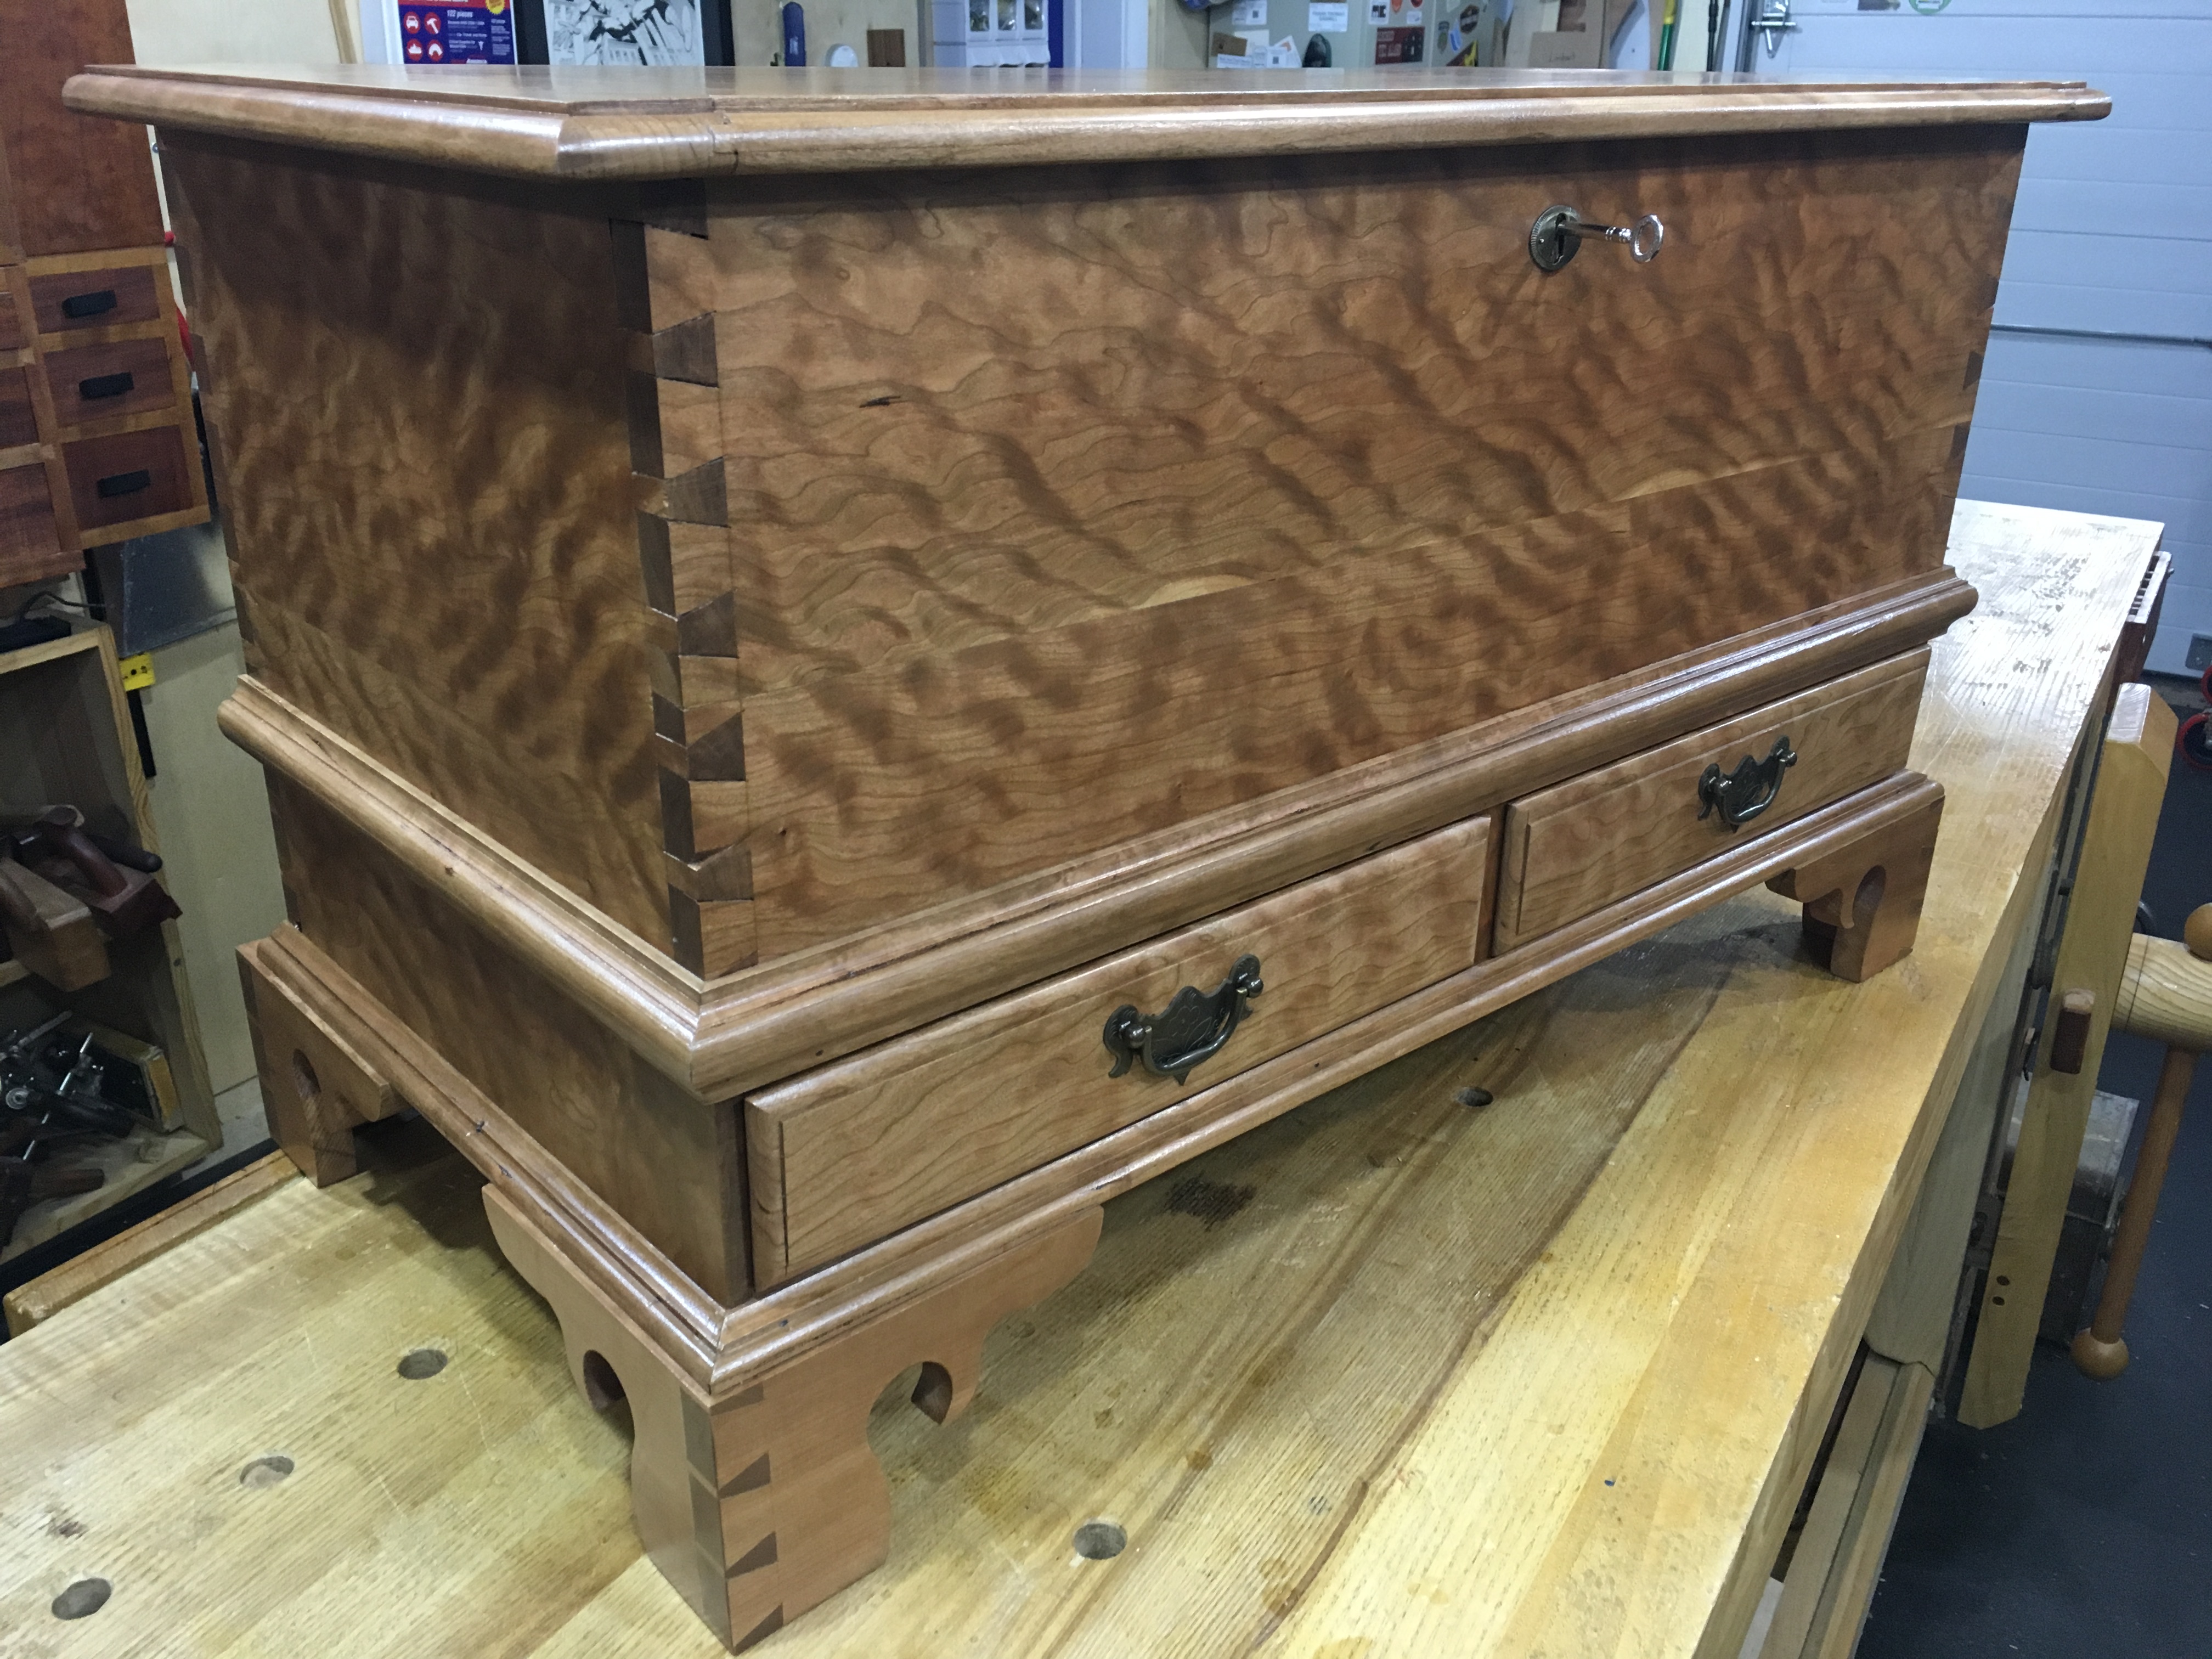
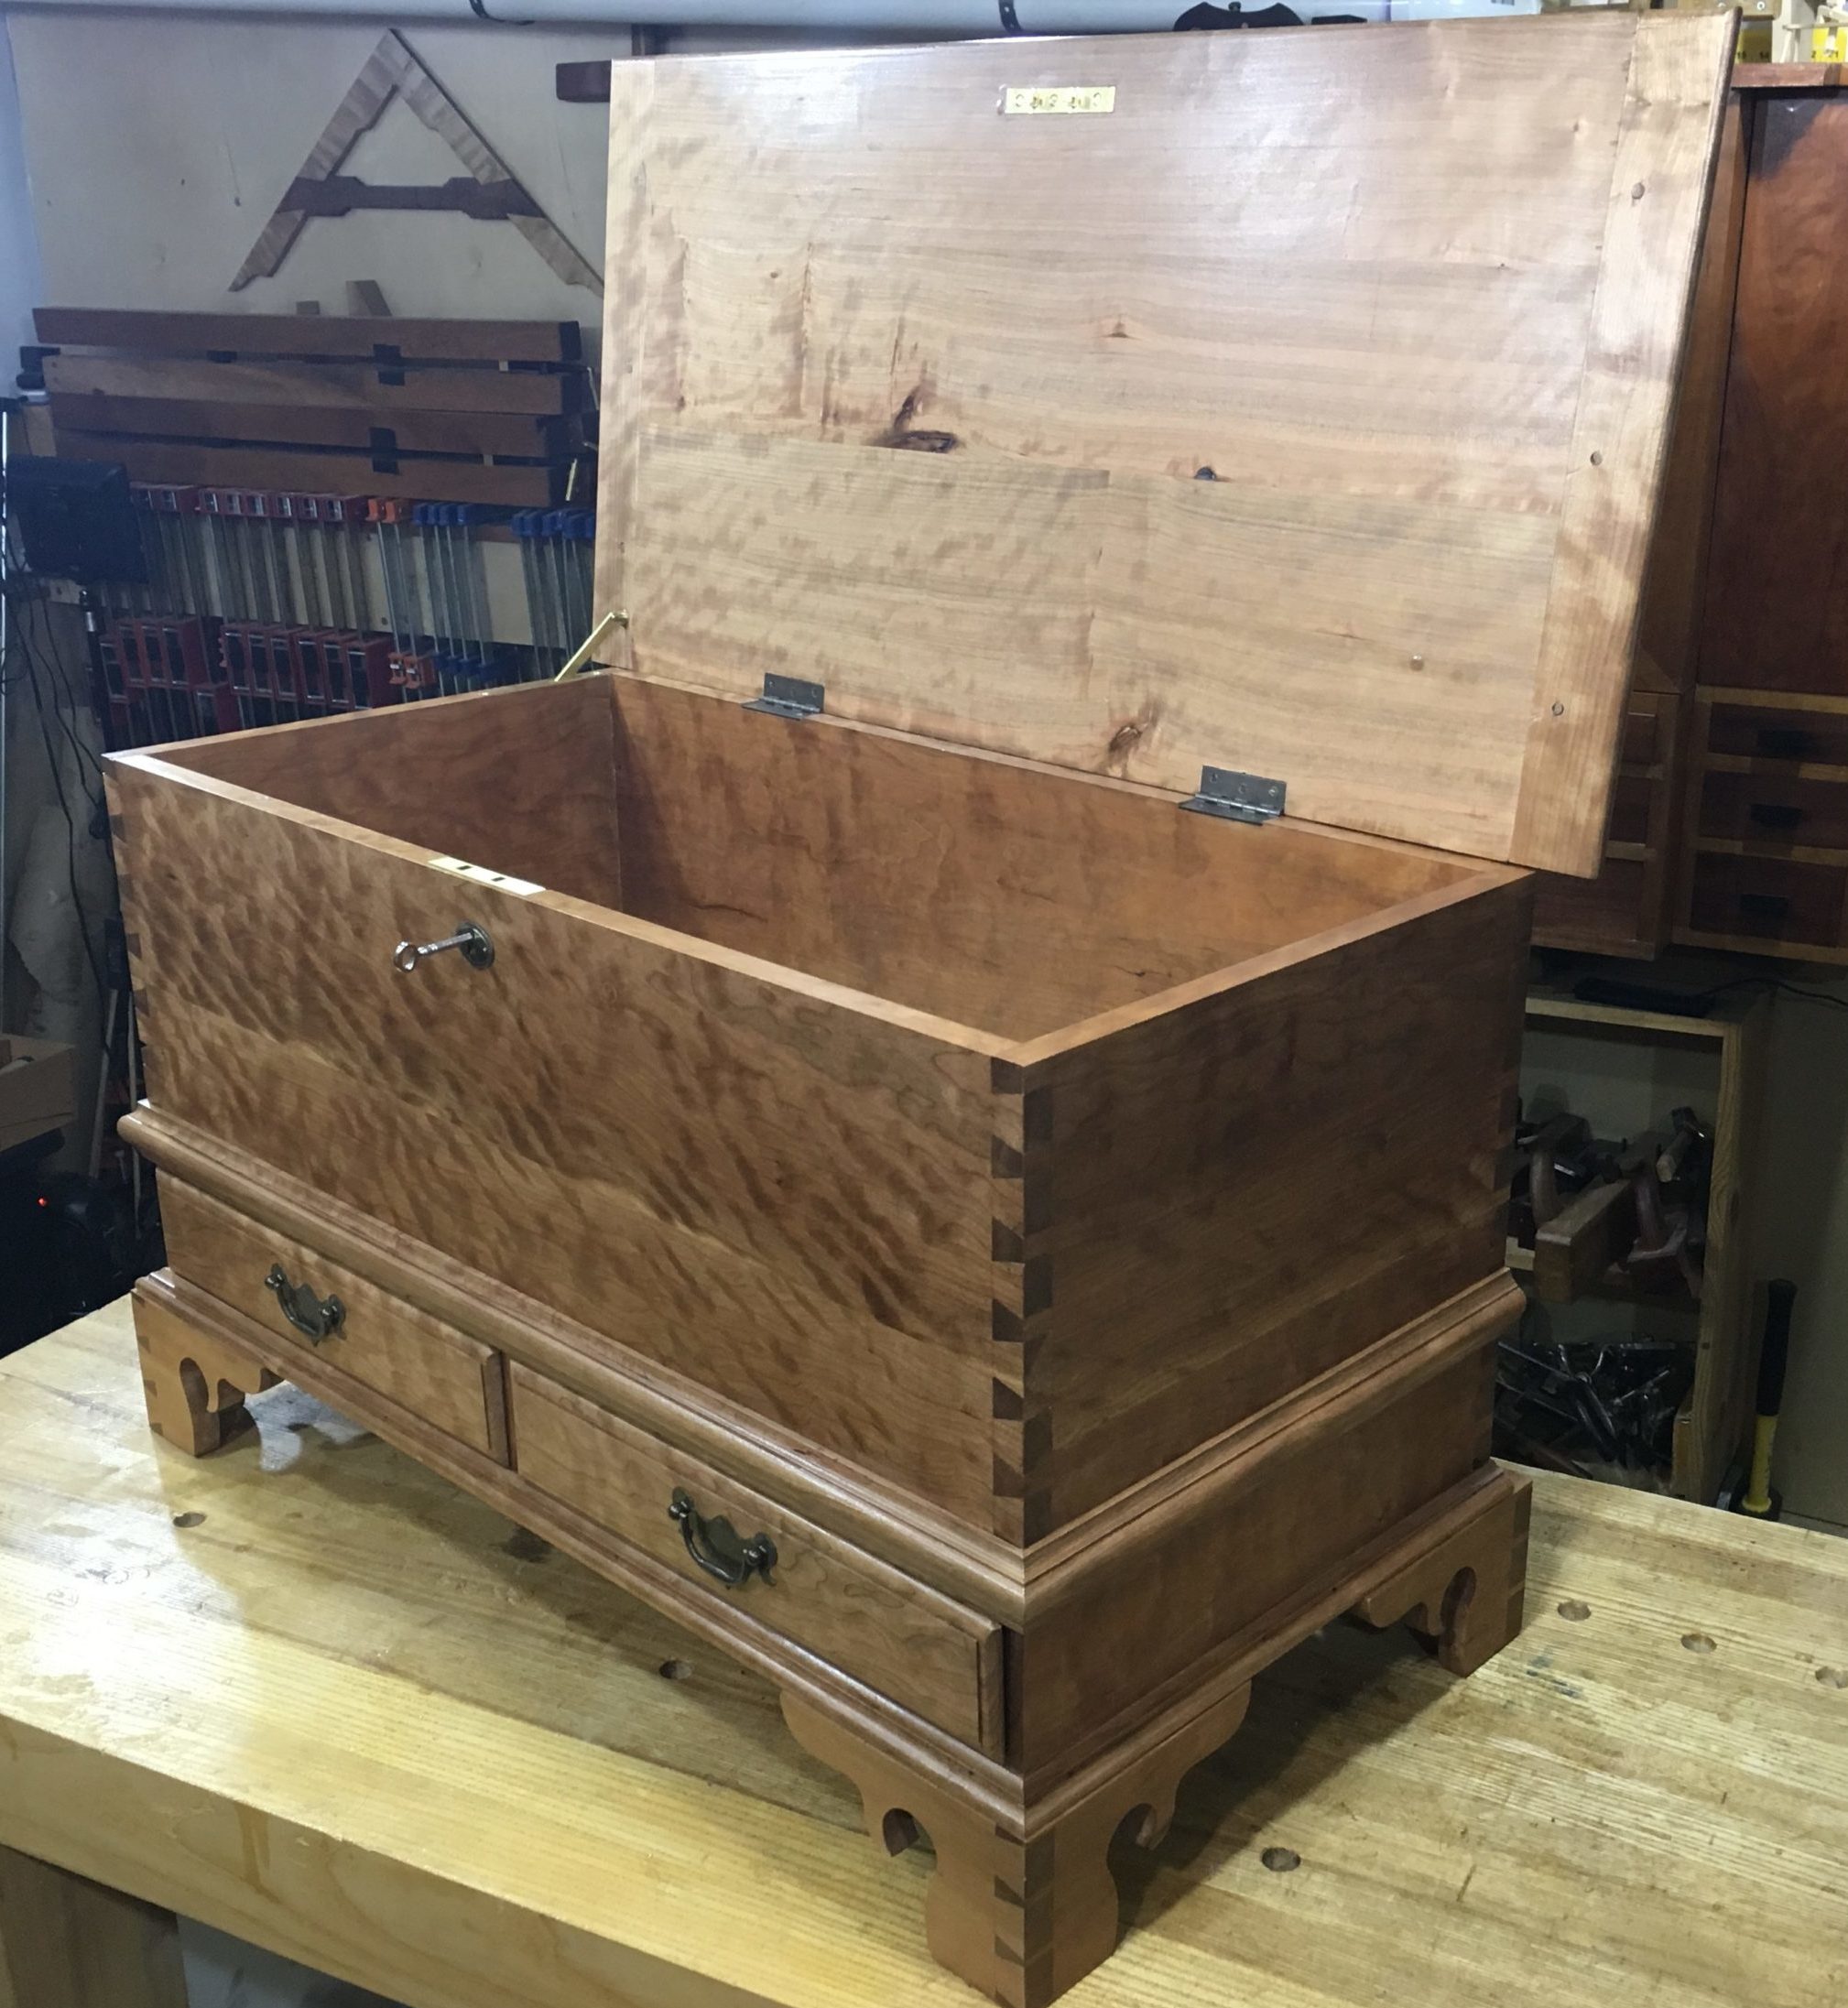
This Blanket Chest is based on a southern Colonial style but with a more cosmopolitan design found in the larger Southern cities. The bracket feet, and astragal waist moulding dress up the case while also setting off the overlain, ogee moulded drawers. My entire process in this build focuses on the design elements and how to choose the best grain and color match to tell the story from the very first cut.
The skills covered in this build are extensive from milling and gluing up large panels (with perfect grain match) to extensive coverage on choosing the right grain for each part for function but also design contrast. Of course there is LOTS of dovetails to join the case, feet, and drawers together. But the finishing touches of 4 separate hand stuck moulding profiles, breadboard ends, and fine hardware really adds to the mix. In the end this is a beautiful, heirloom project with a lot of wow factor whether you use a figured wood like I did, or an honest straight grain.
Part 1: The Design
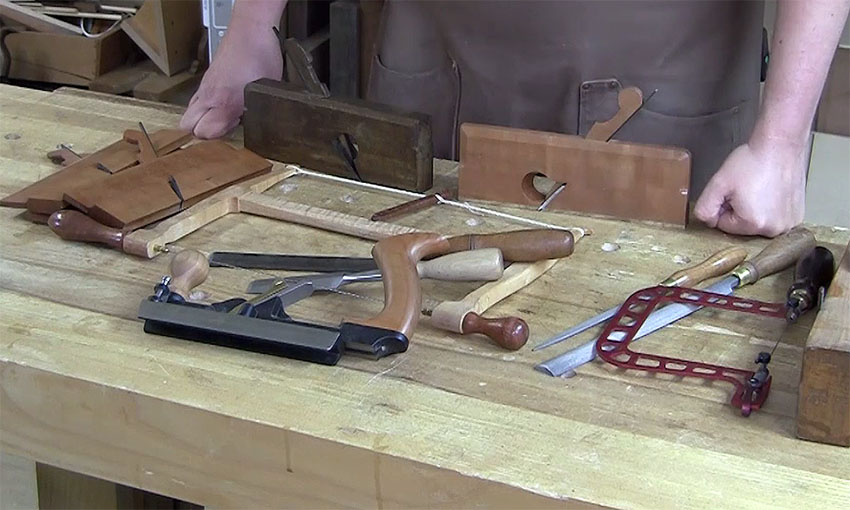
I cover the design elements and the skill challenges ahead by reviewing the SketchUp model. Then I discuss all the tools needed, and build a parts list and lumber shopping list to get the best color and grain match for the entire chest.
Part 2: The Case
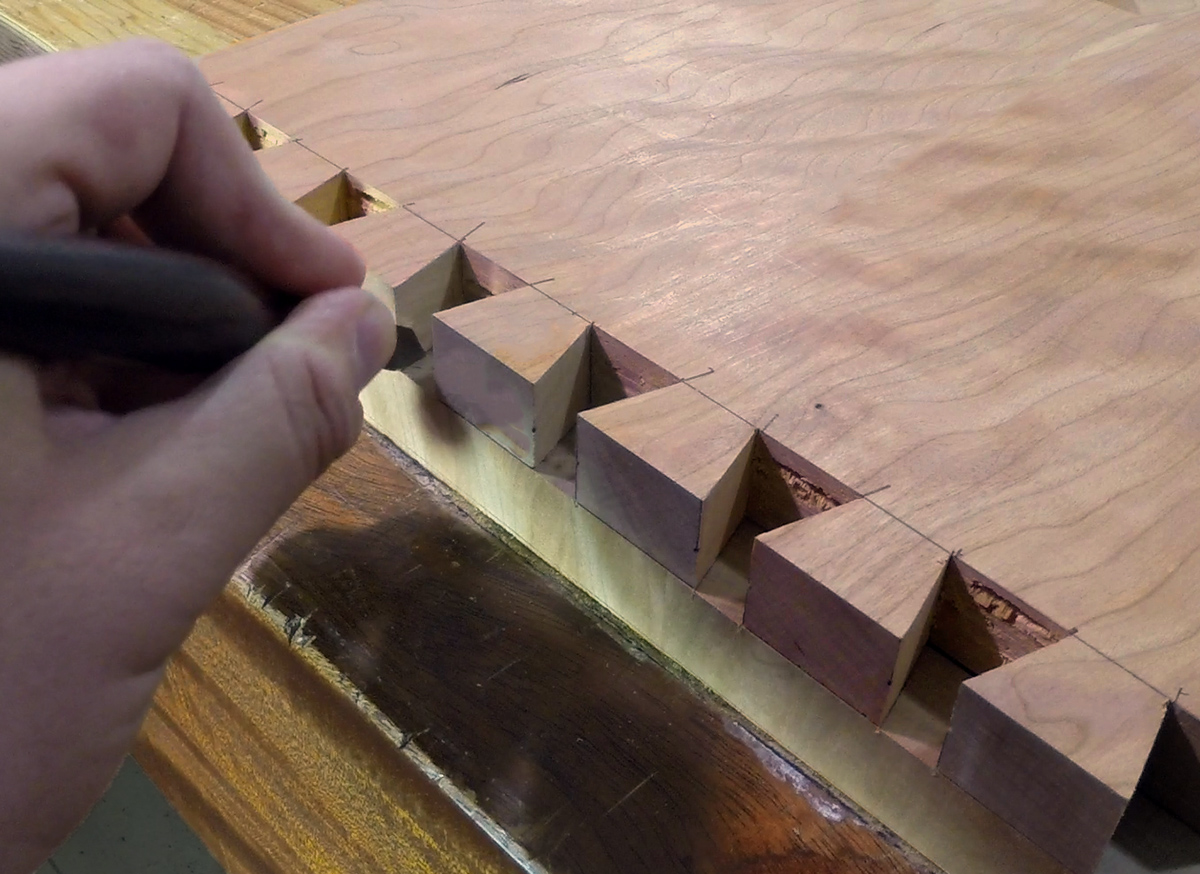
I start by jointing and gluing up perfectly matched panels and then make a great big box with step by step instructions for making beautiful hand cut dovetails
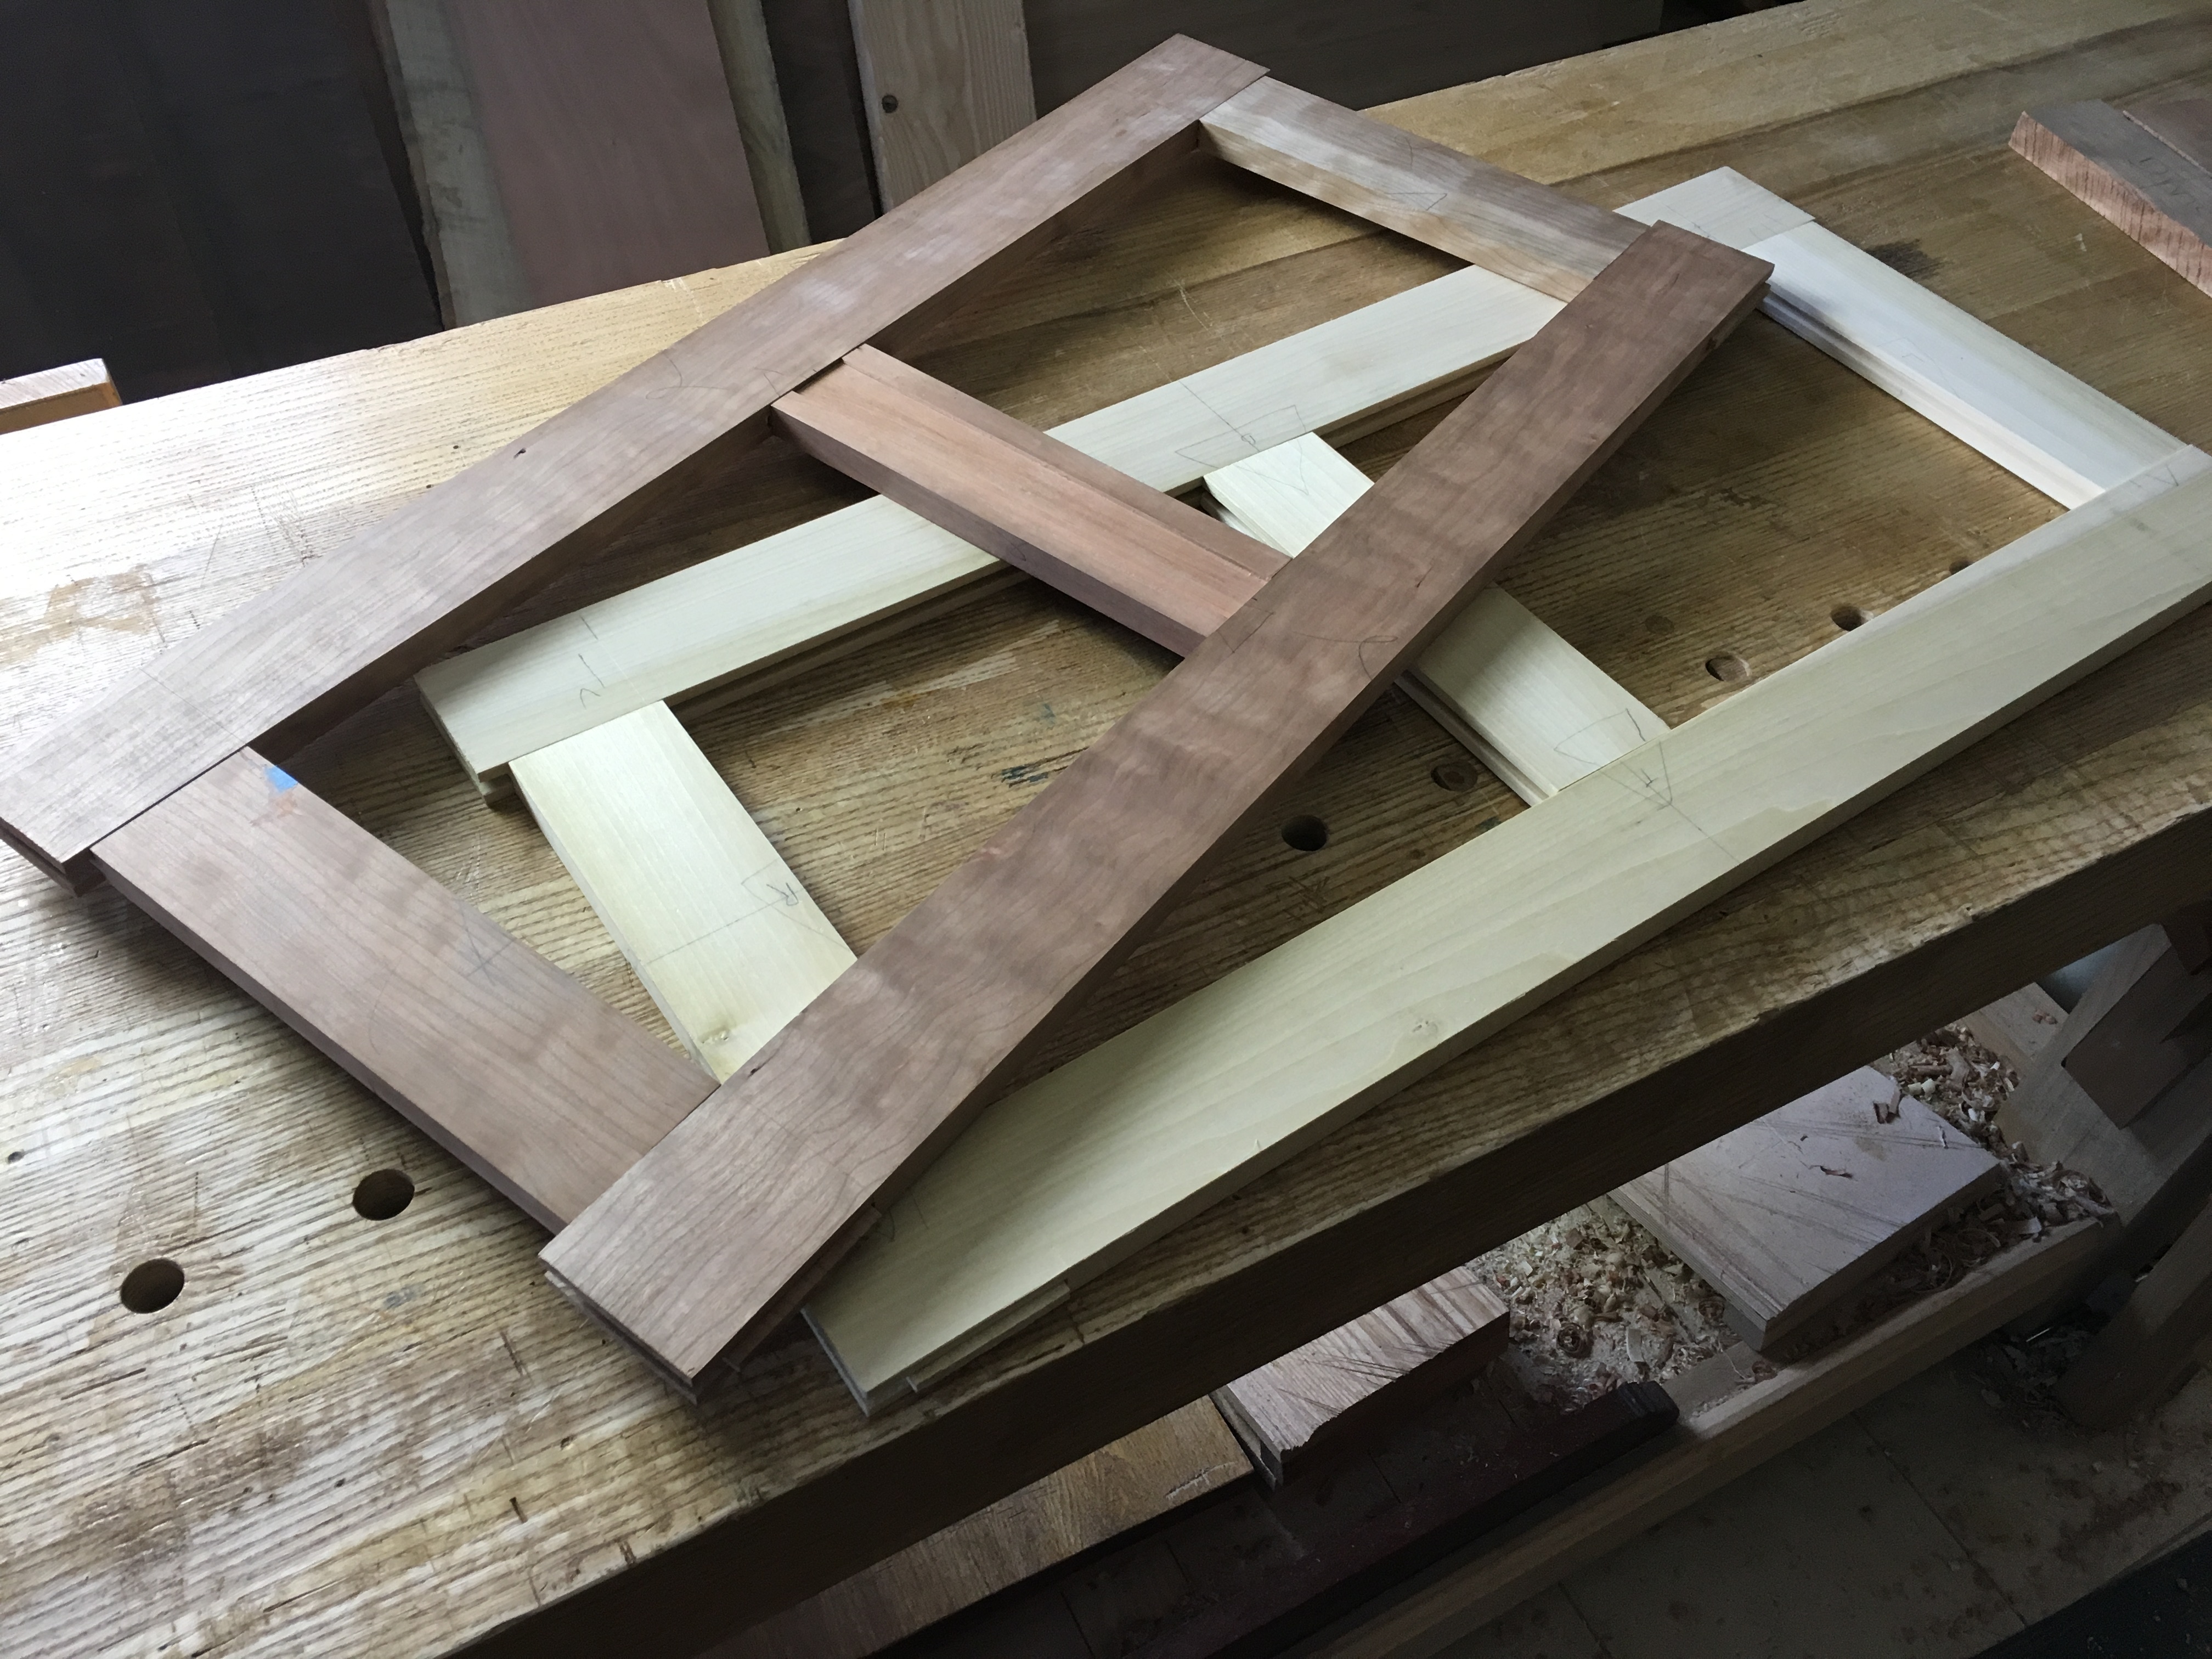
Part 3: Interior Structure
With a box we now need joinery to house the compartment bottom as well as the overall case bottom and drawer runners. I build frame and panel assemblies and show how to cut wide grooves where a plow plane just won't work.
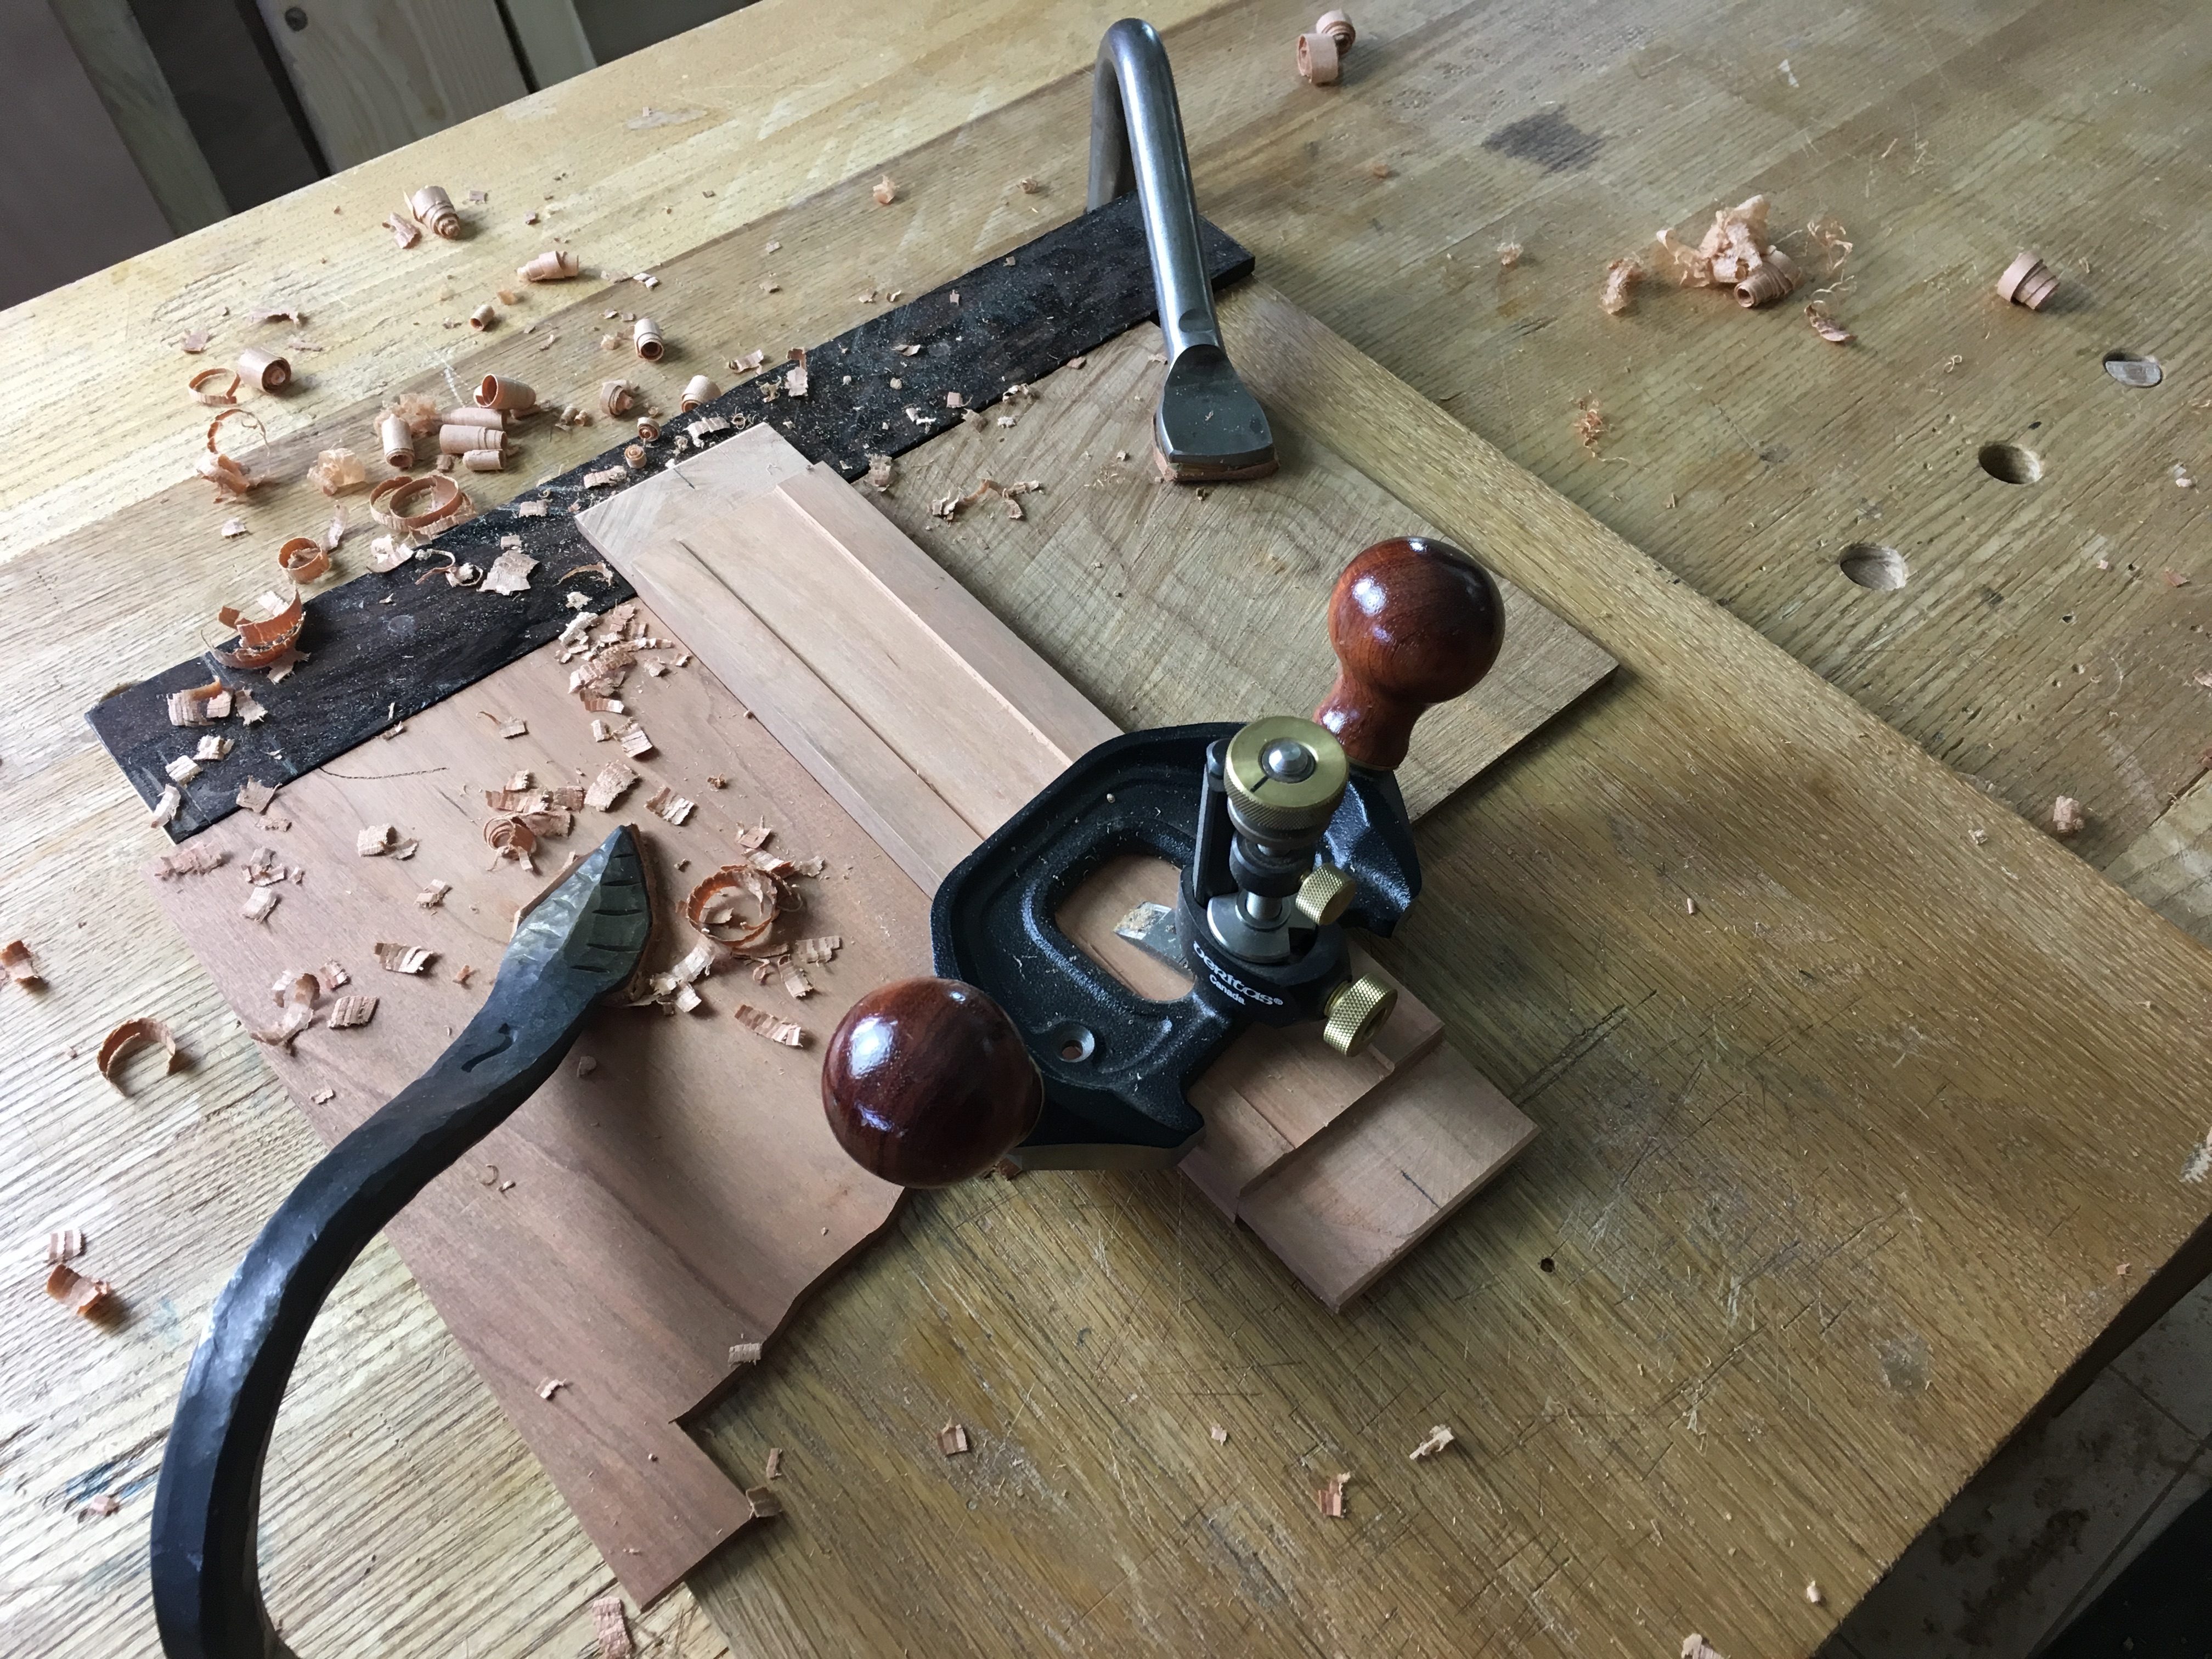
Part 4: Optional Til
Many of these chests had a swing lidded til near the top for candles or other smaller items. I chose not to include this element in my own chest but use this chapter to show how it is done in case you want to add one to your project.
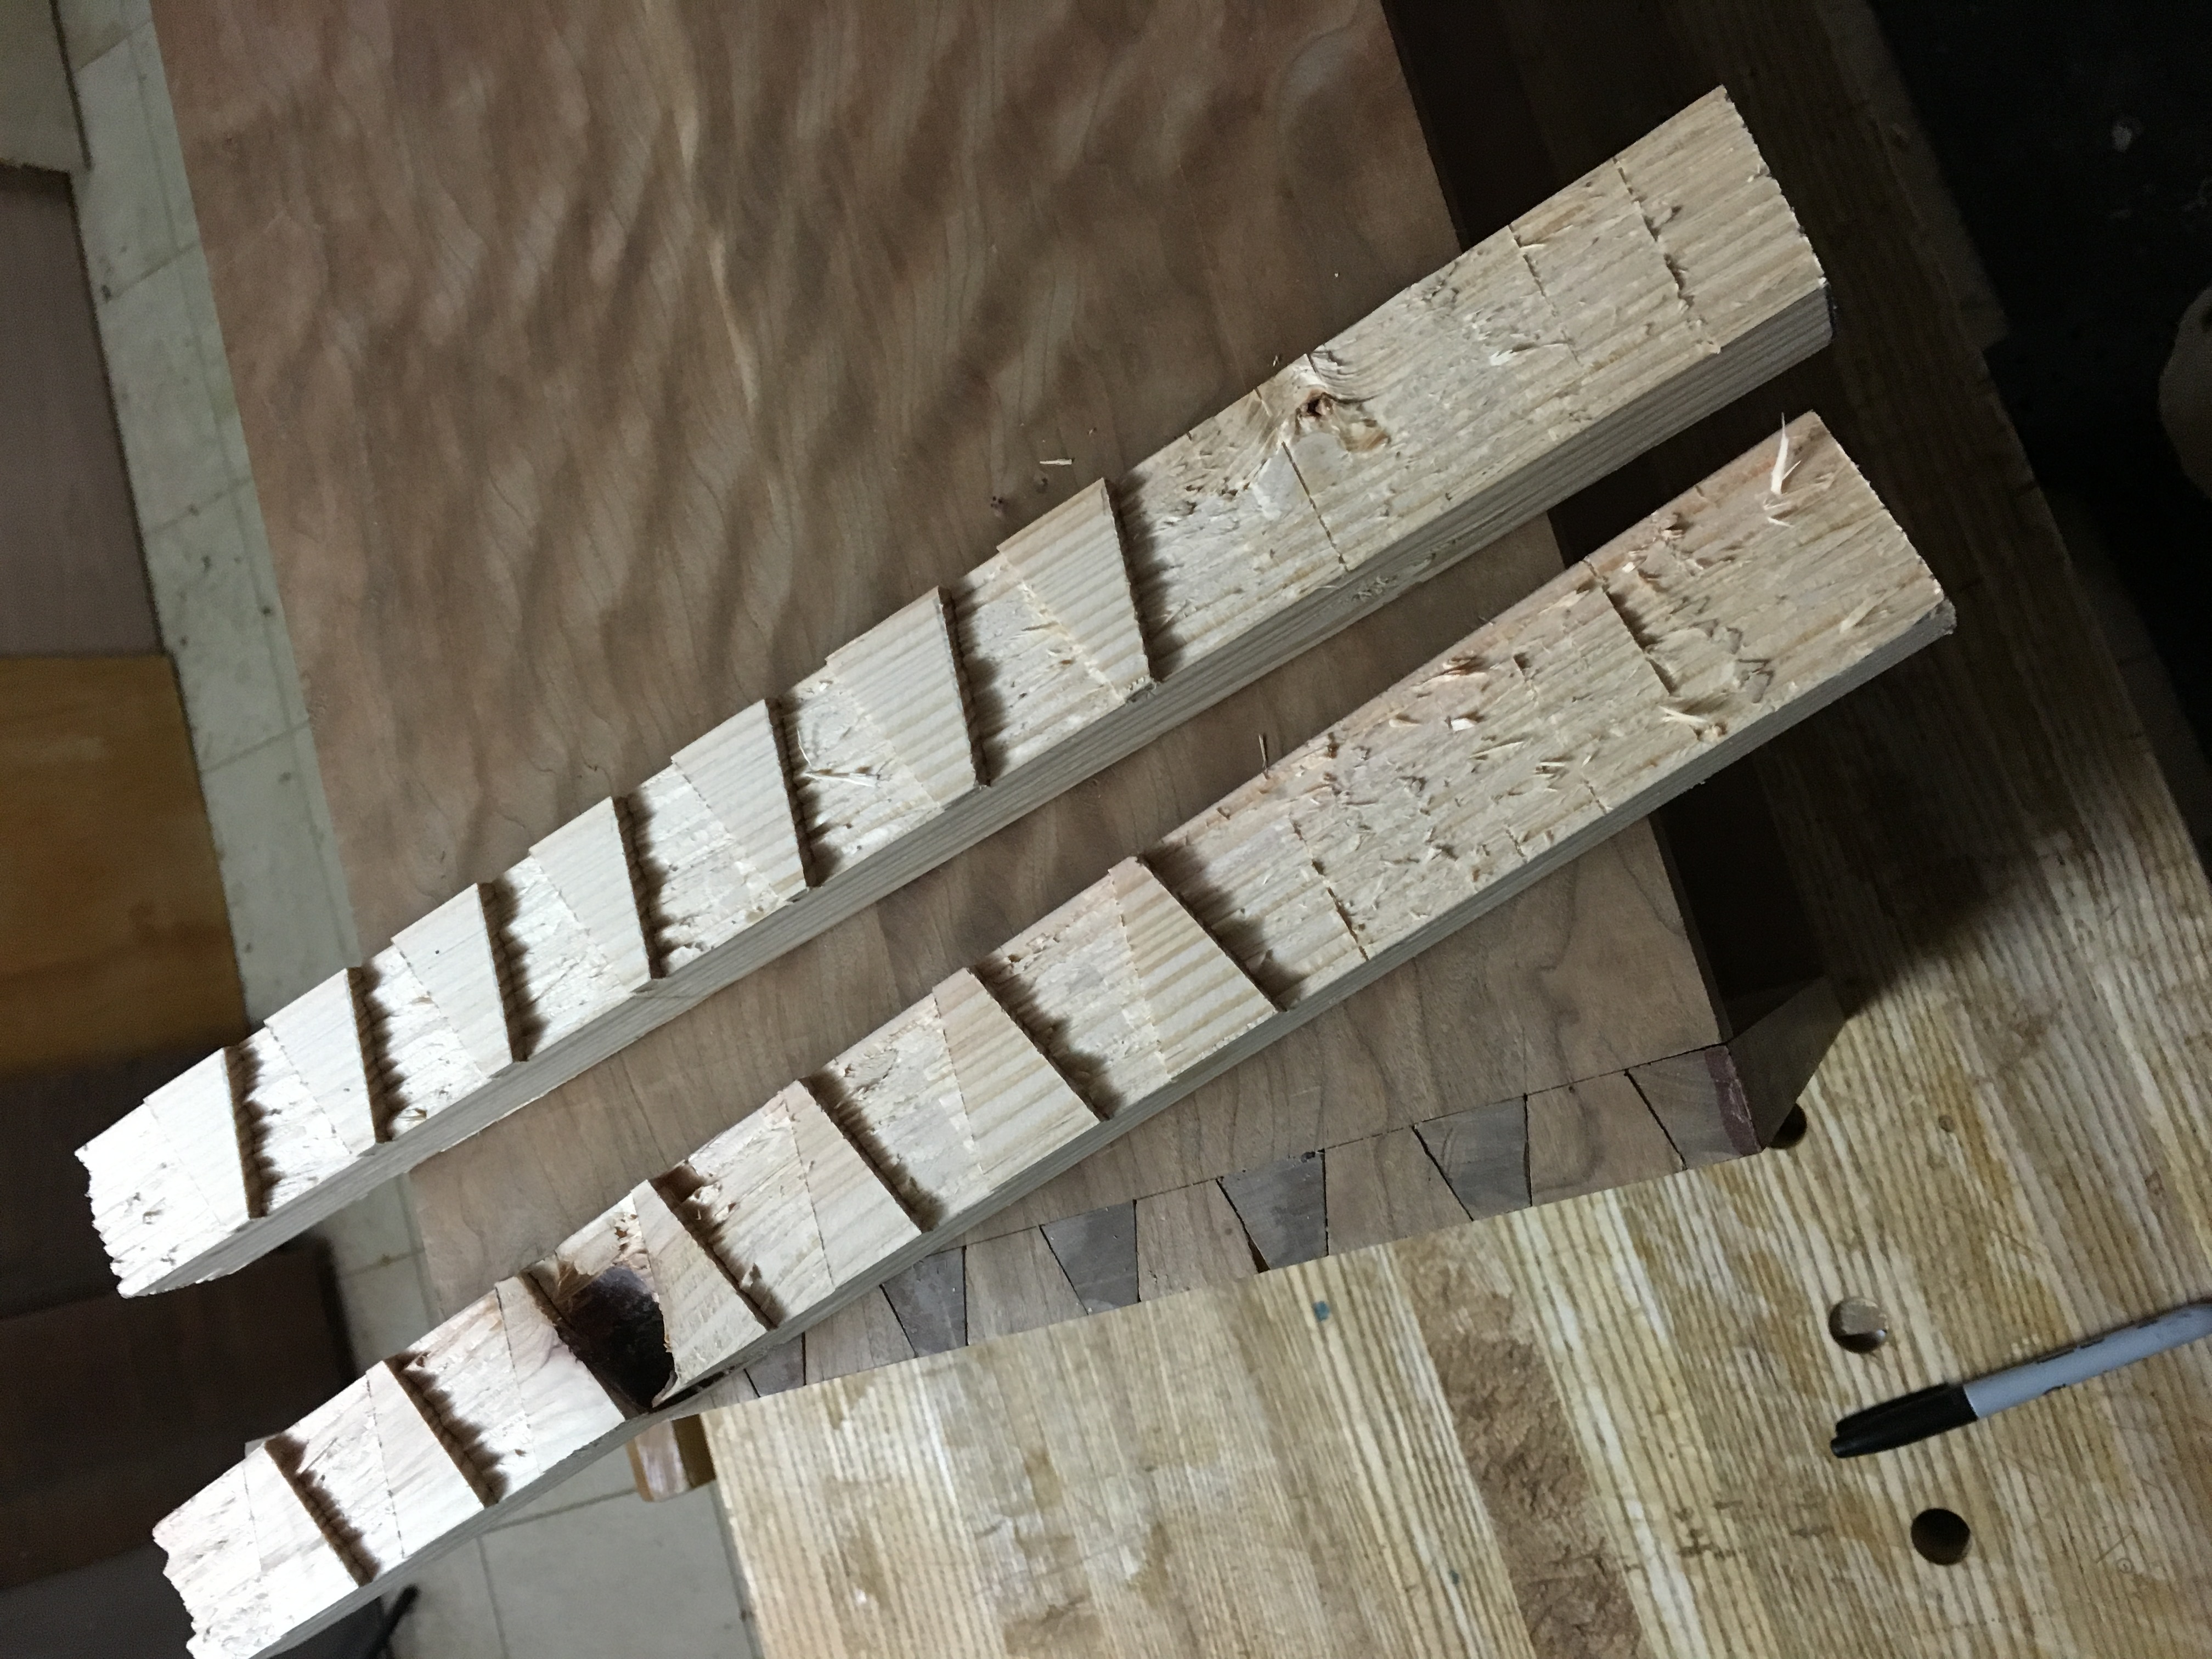
Part 5: Assembly
Anytime you have a large case with lots of dovetails, the glue up can be tricky. Add into it internal panels and joinery and things can get hairy fast. This chapter builds a strategy for a stress free assembly.
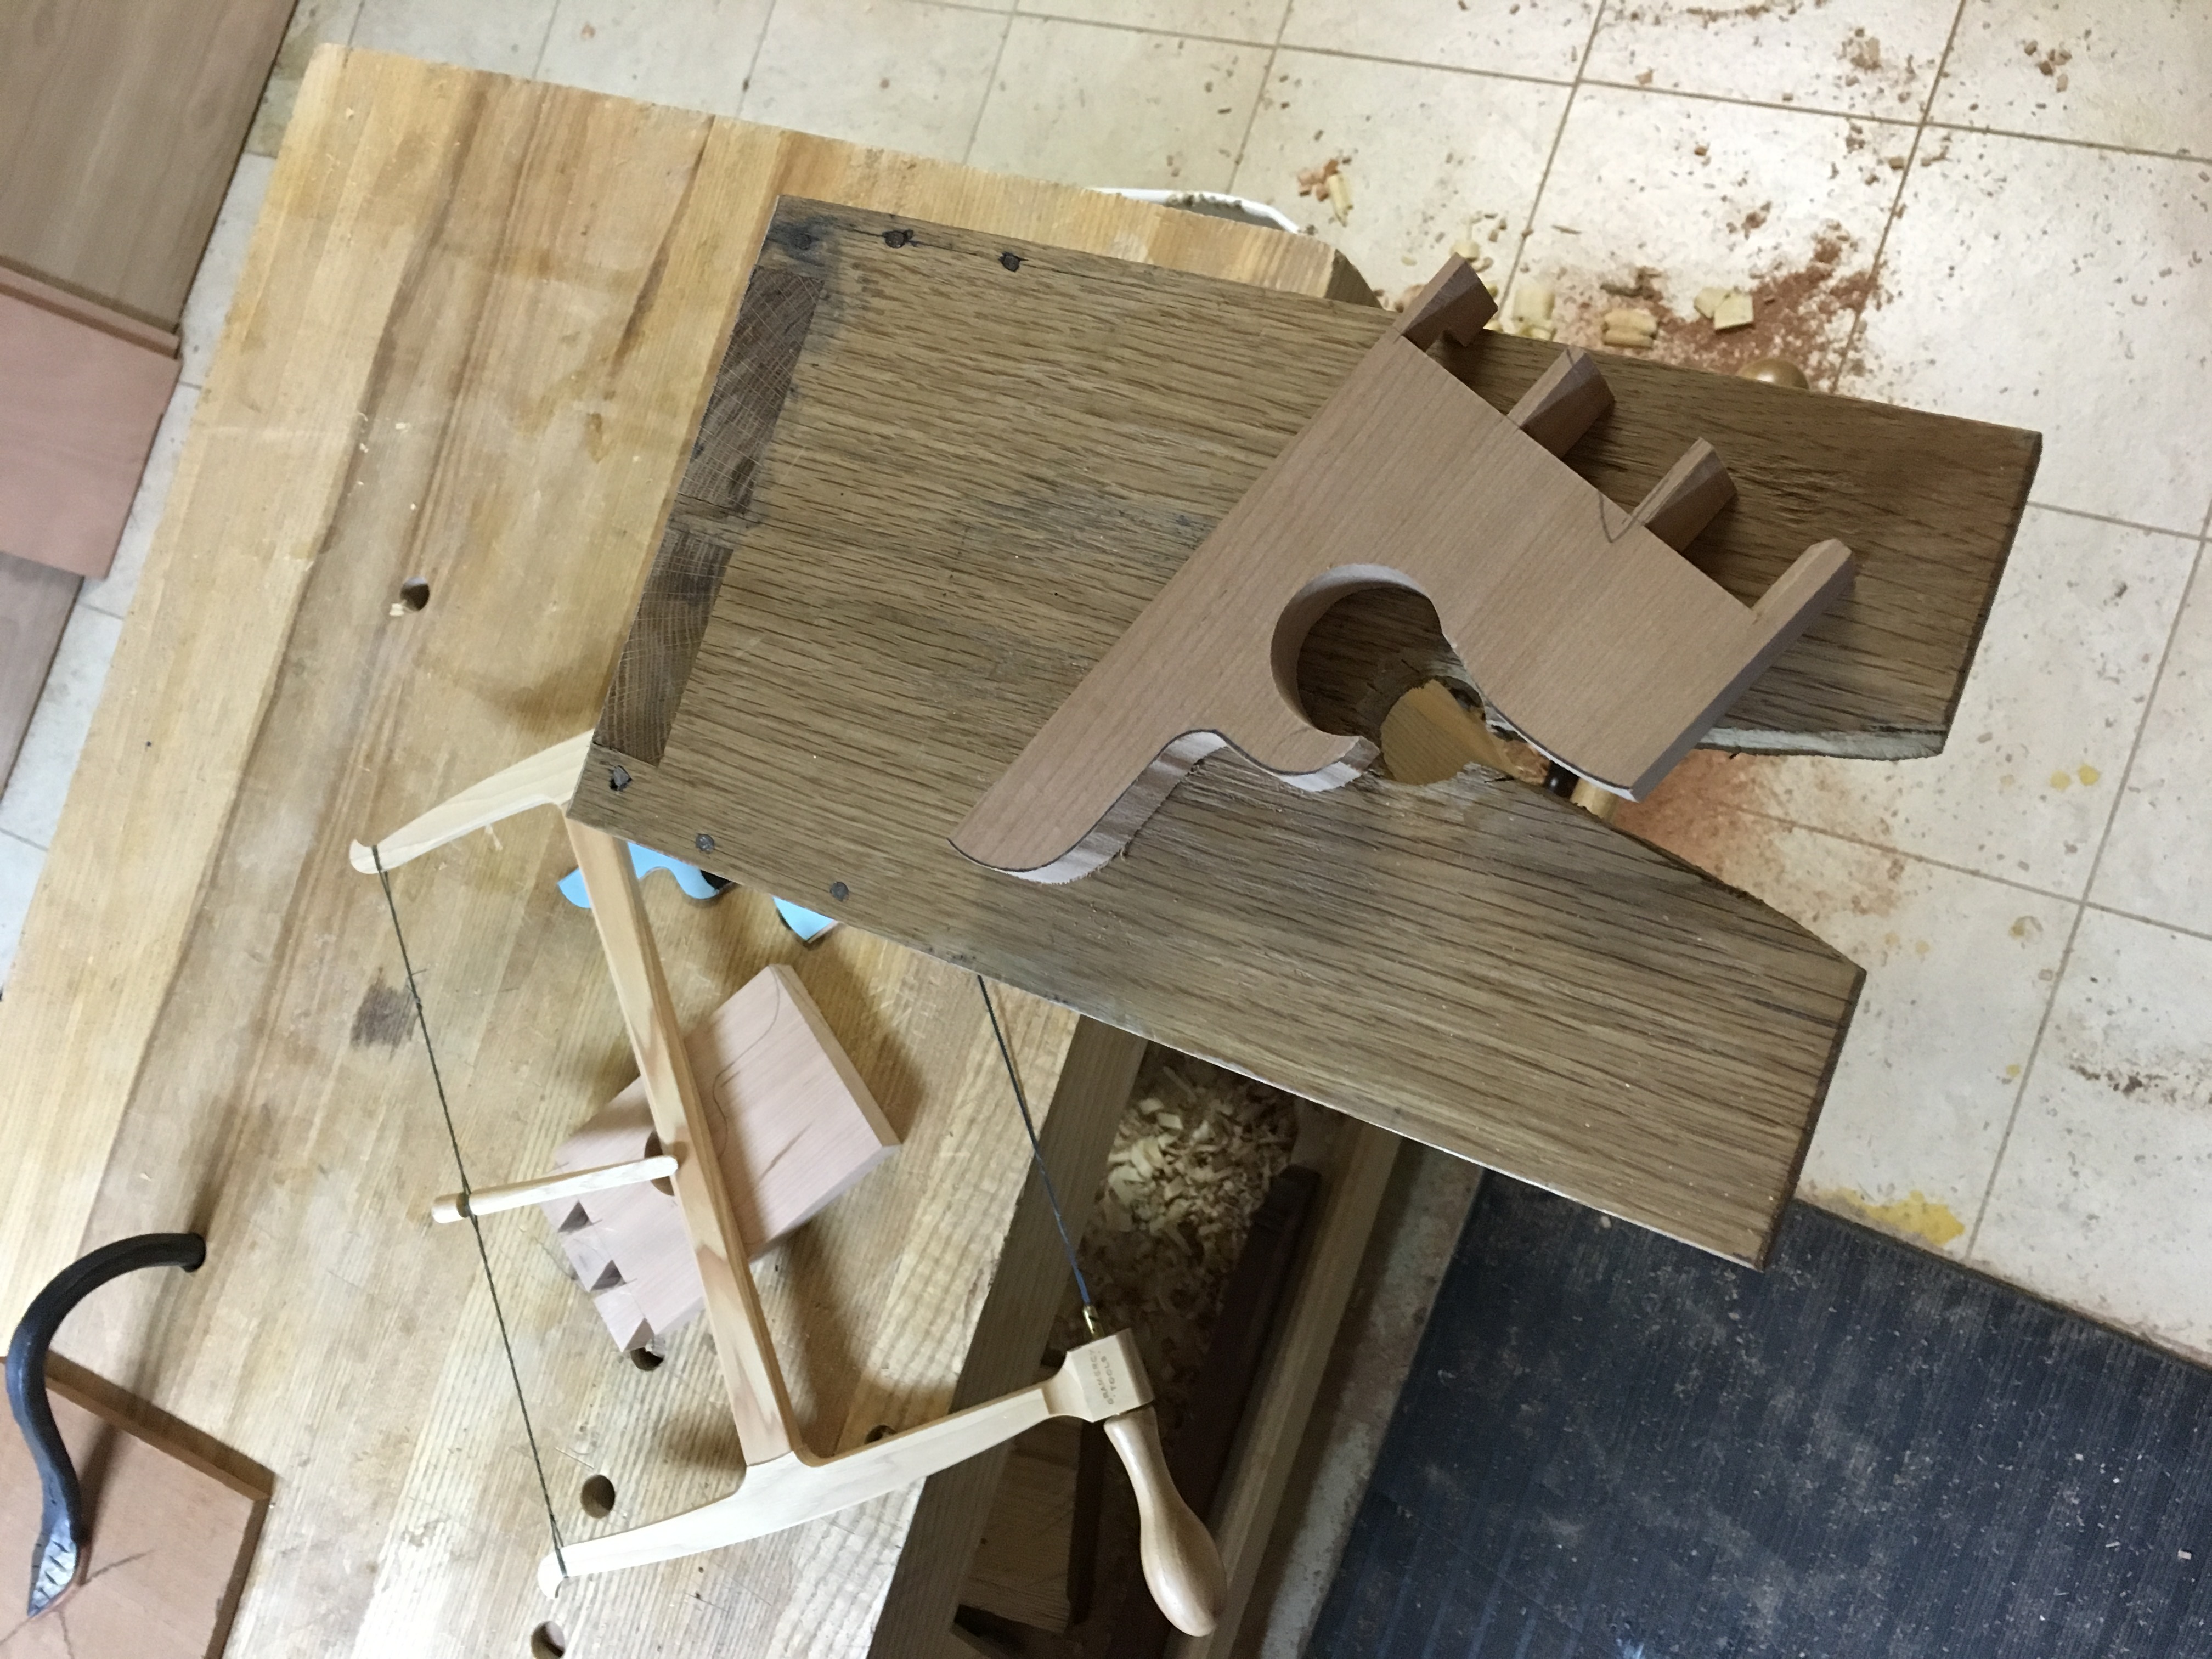
Part 6: Bracket Feet
I use the included PDF pattern to create elegantly shaped feet then dovetail them into brackets, bolster with glue blocks and mounting plates then attach to the case.
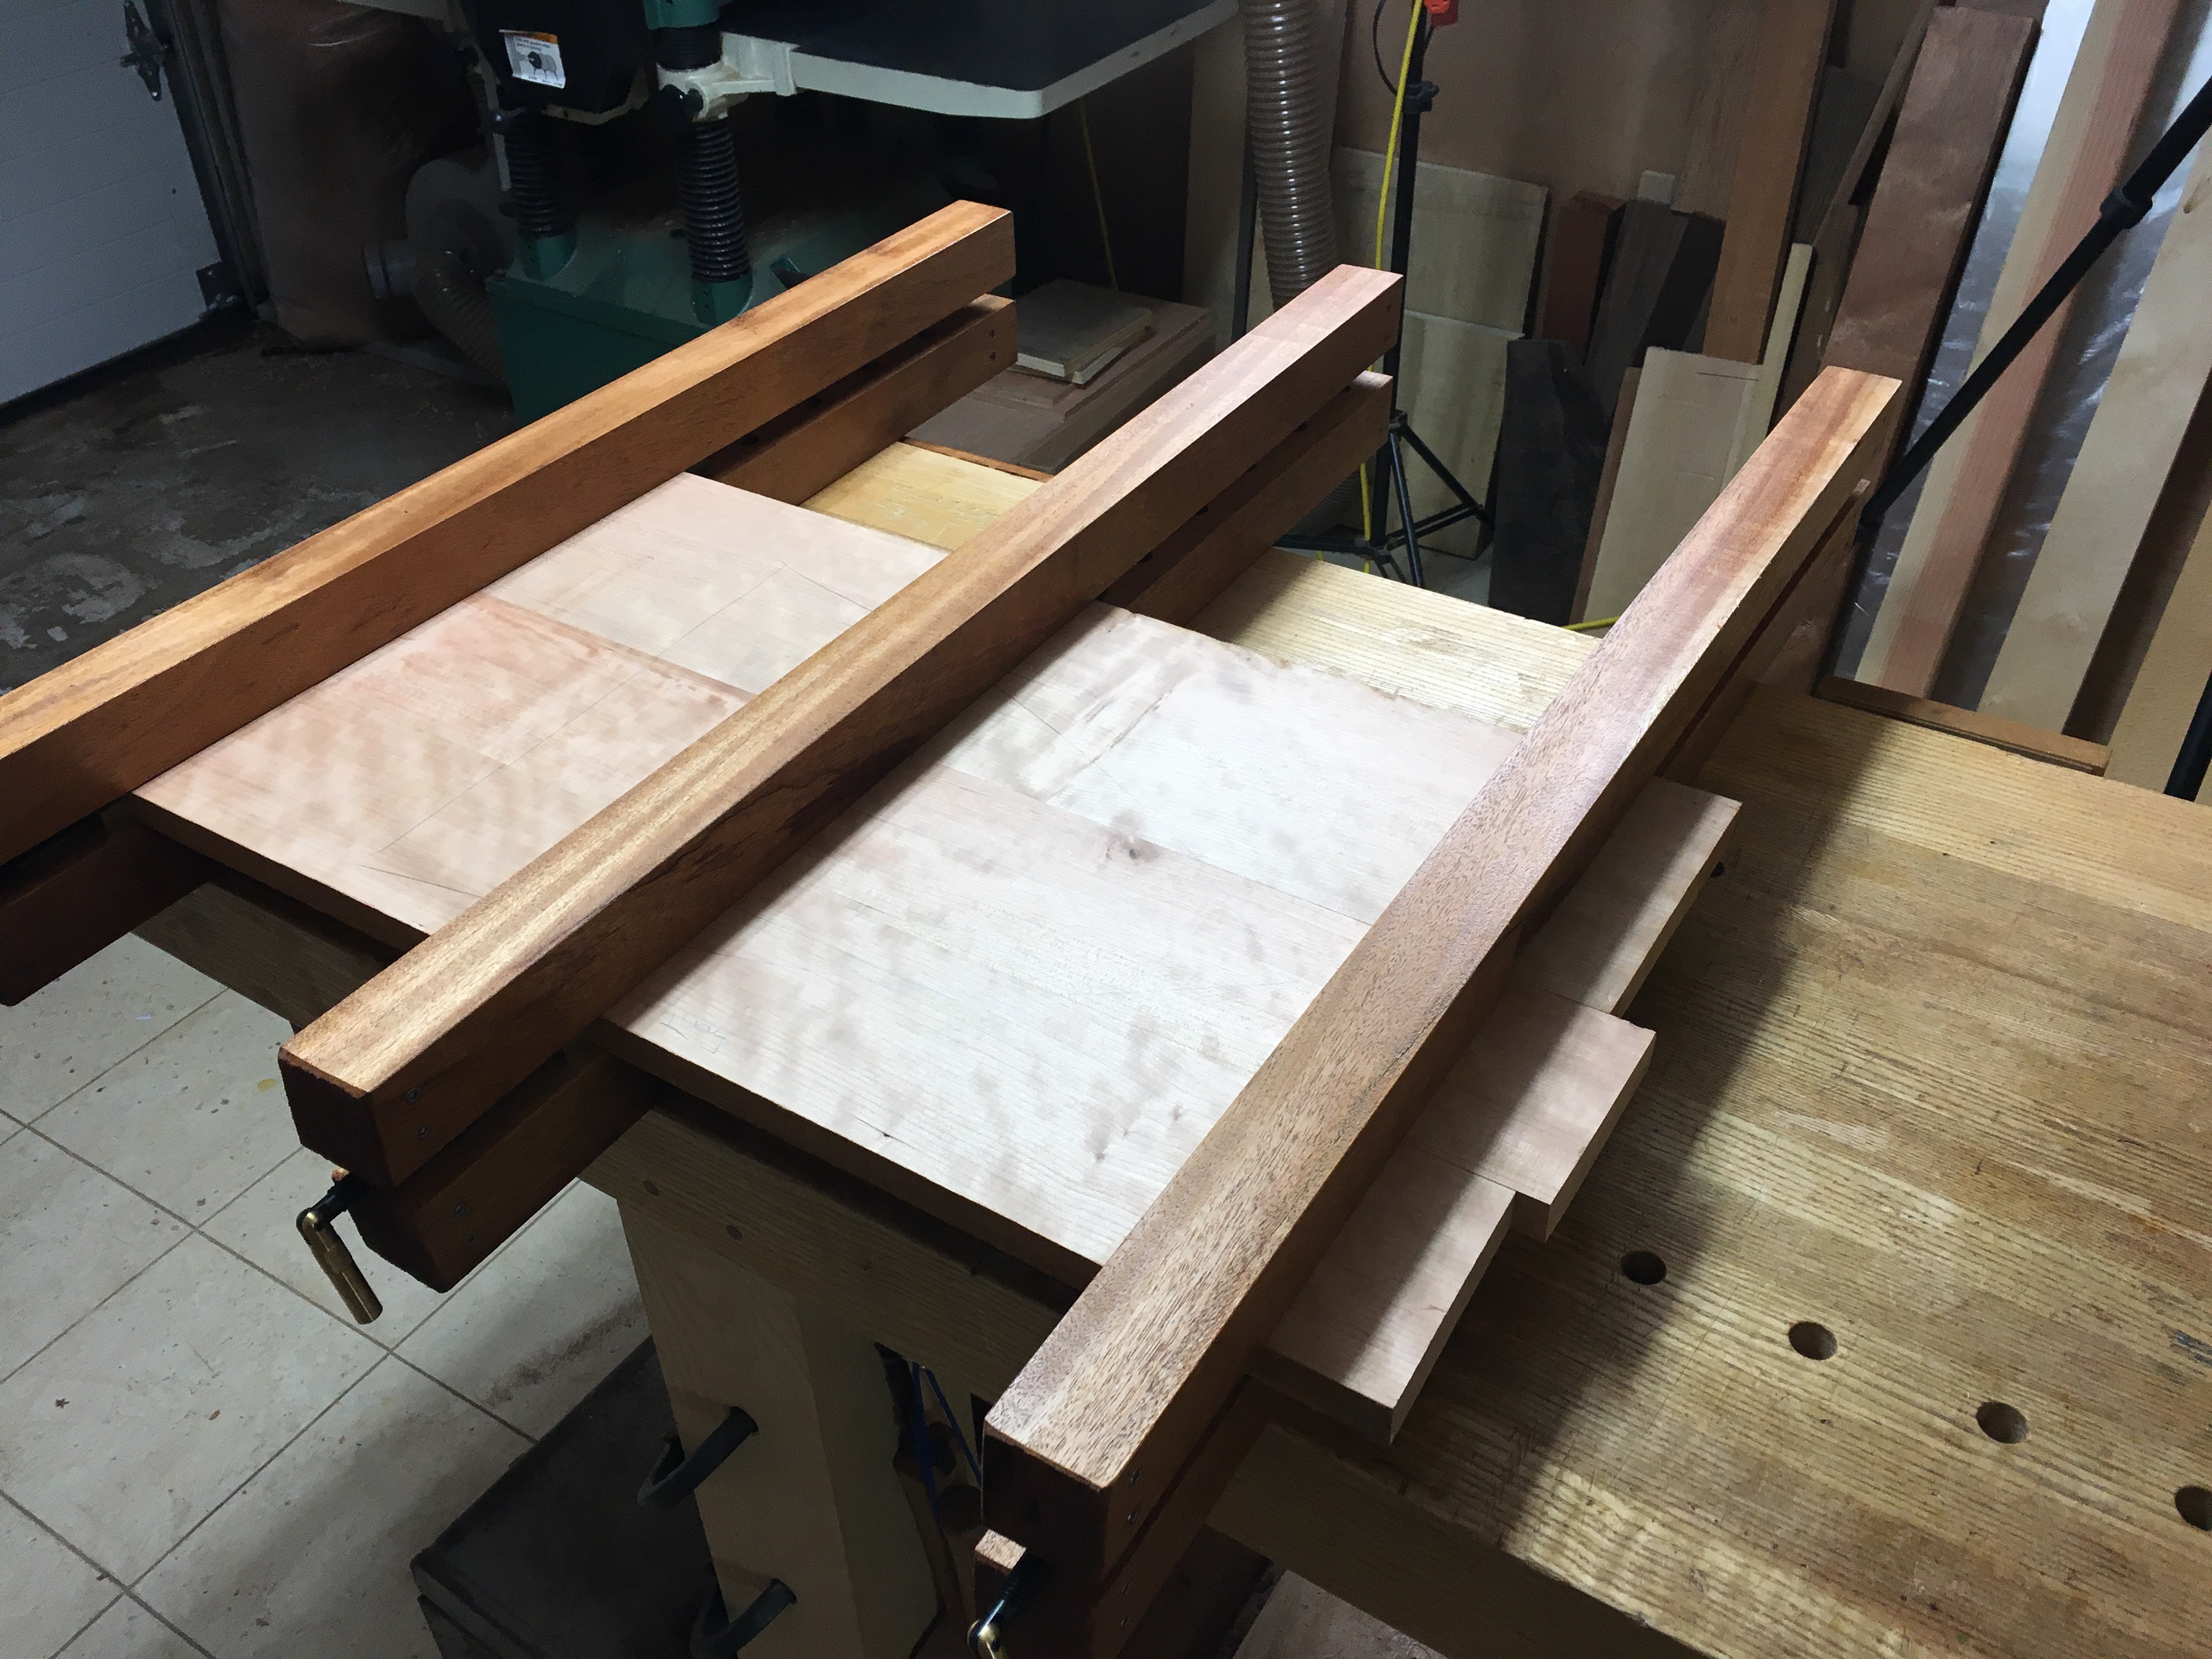
Part 7: Chest Lid
I use an entirely different board and grain to create a stable lid glued up from 3 boards, then make it even more stable by adding breadboard ends and draw boring them in place.
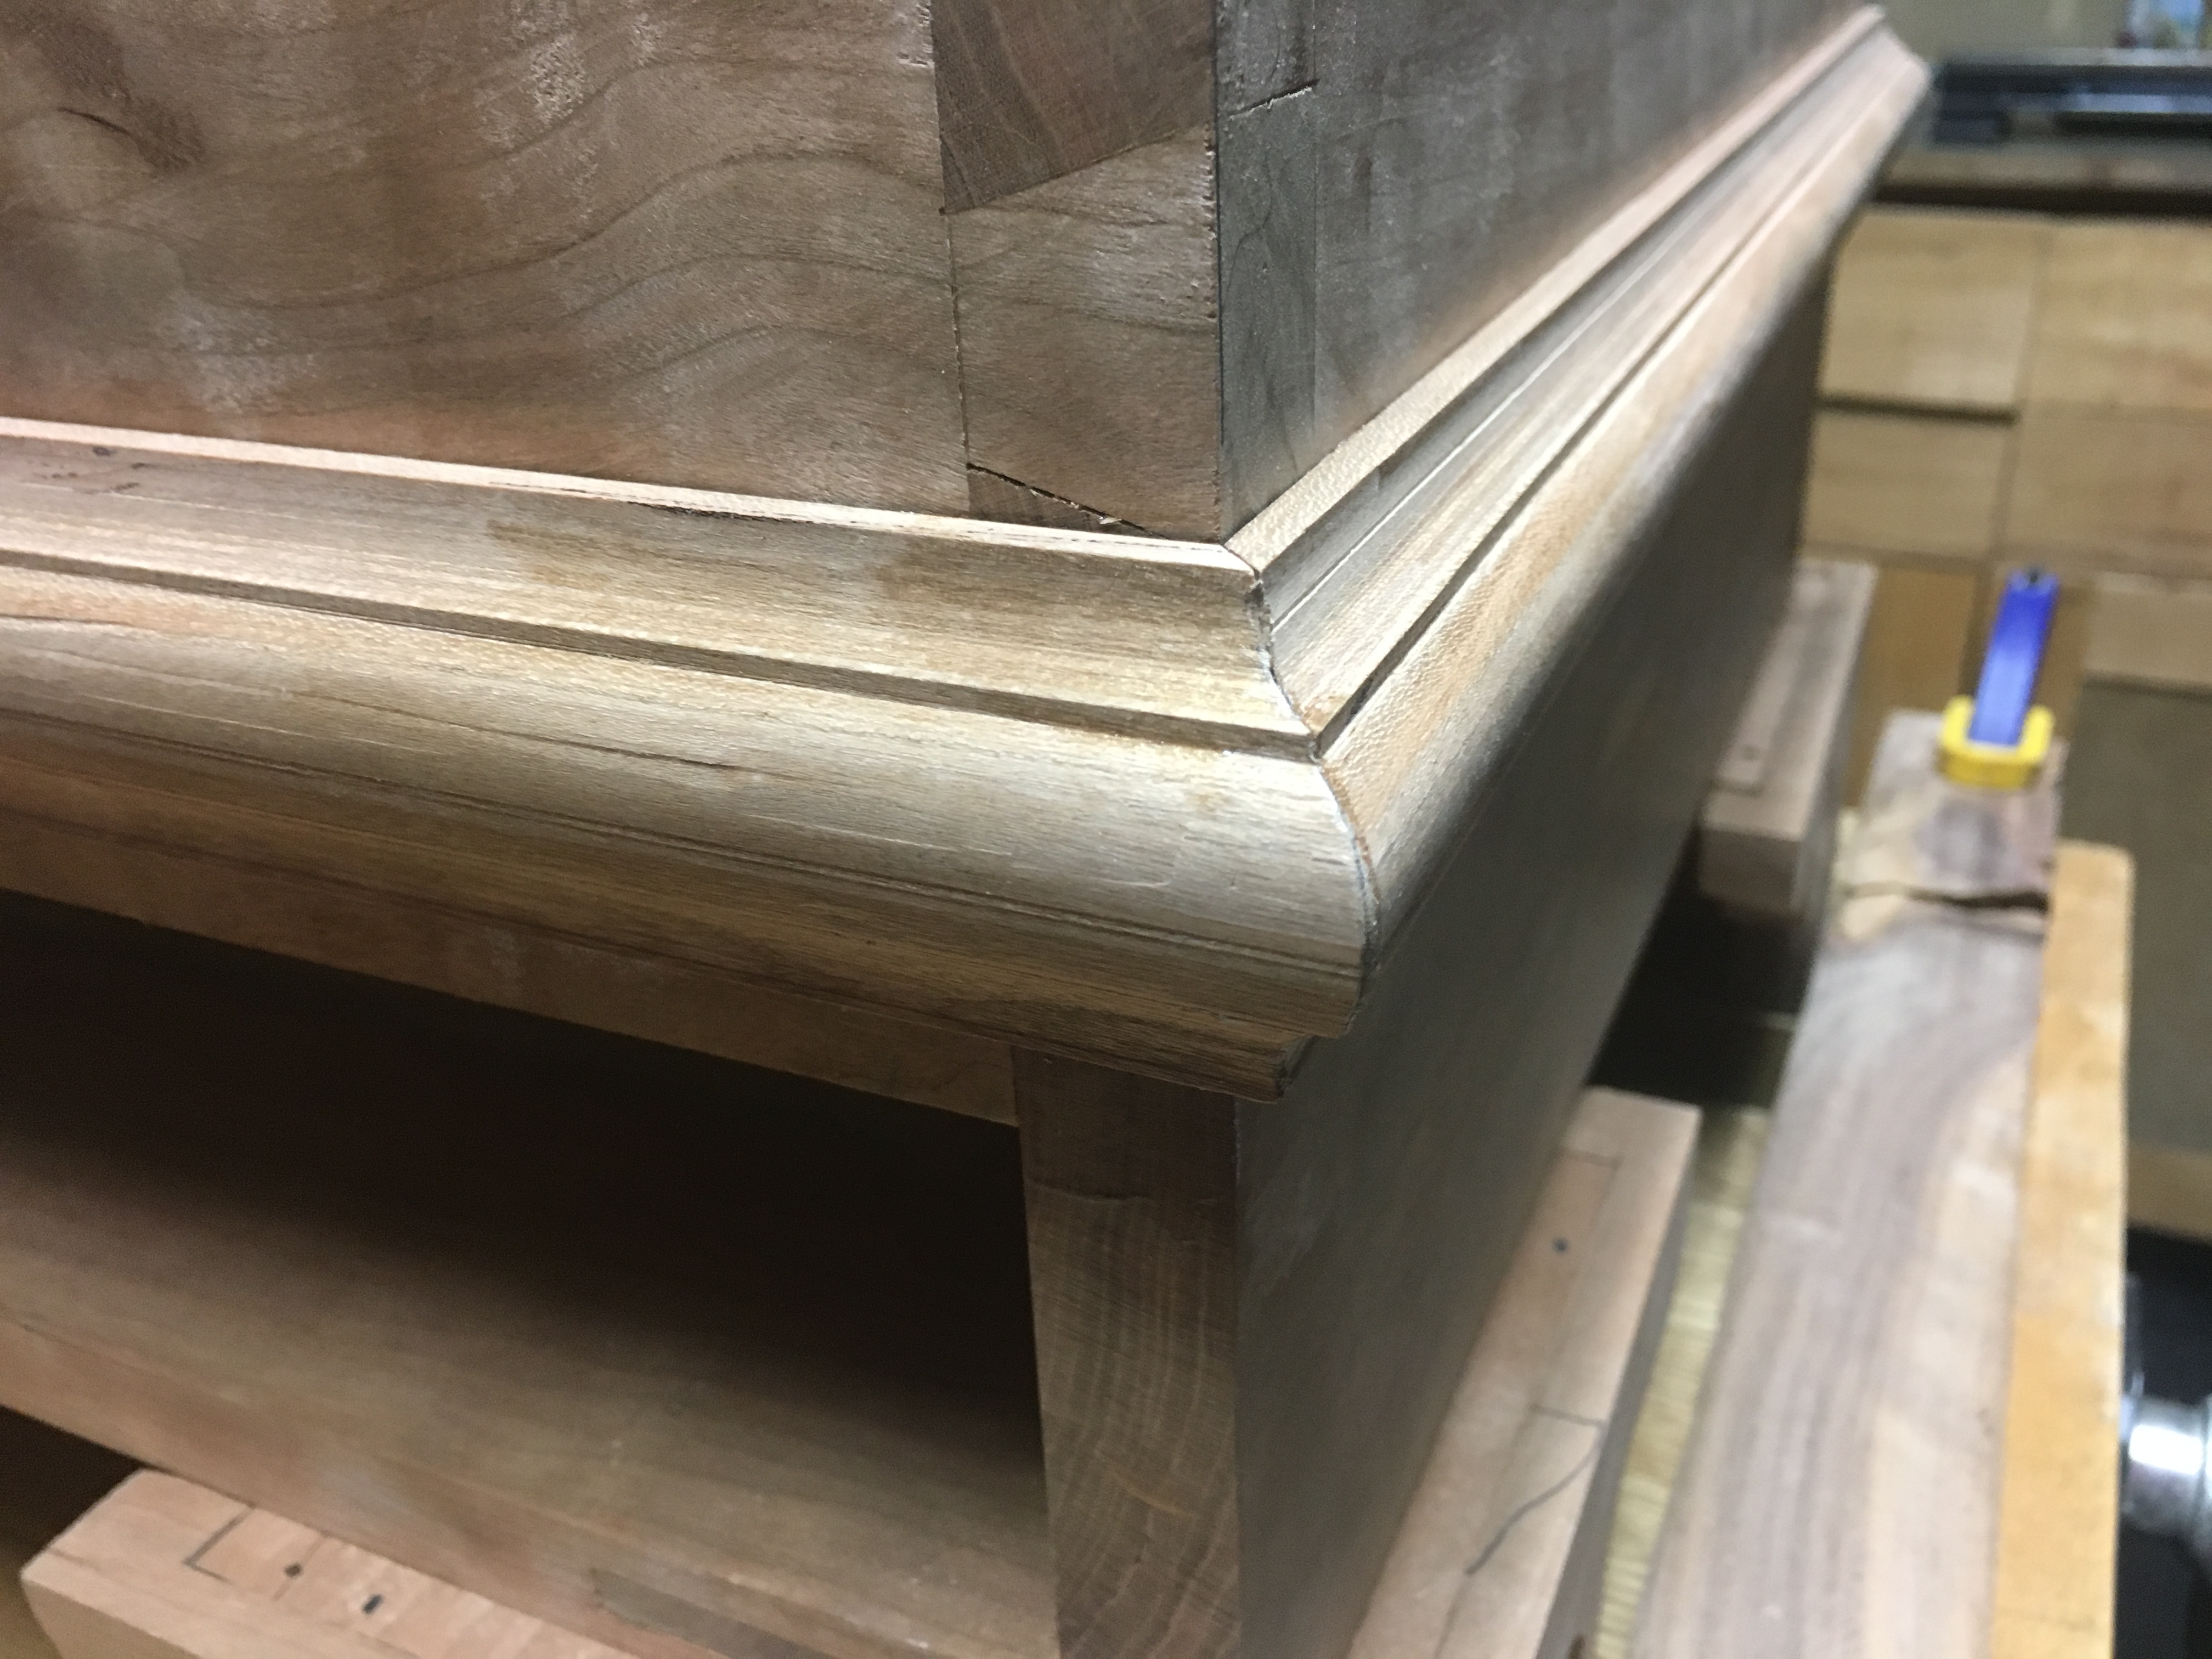
Part 8: Mouldings
This chest has 3 profiles: a classical ogee for the feet, an astragal at the waist and a thumbnail profile on the lid. The lid in particular has some cross grain moulding too at the breadboards. I cover the layout and sticking of each profile.
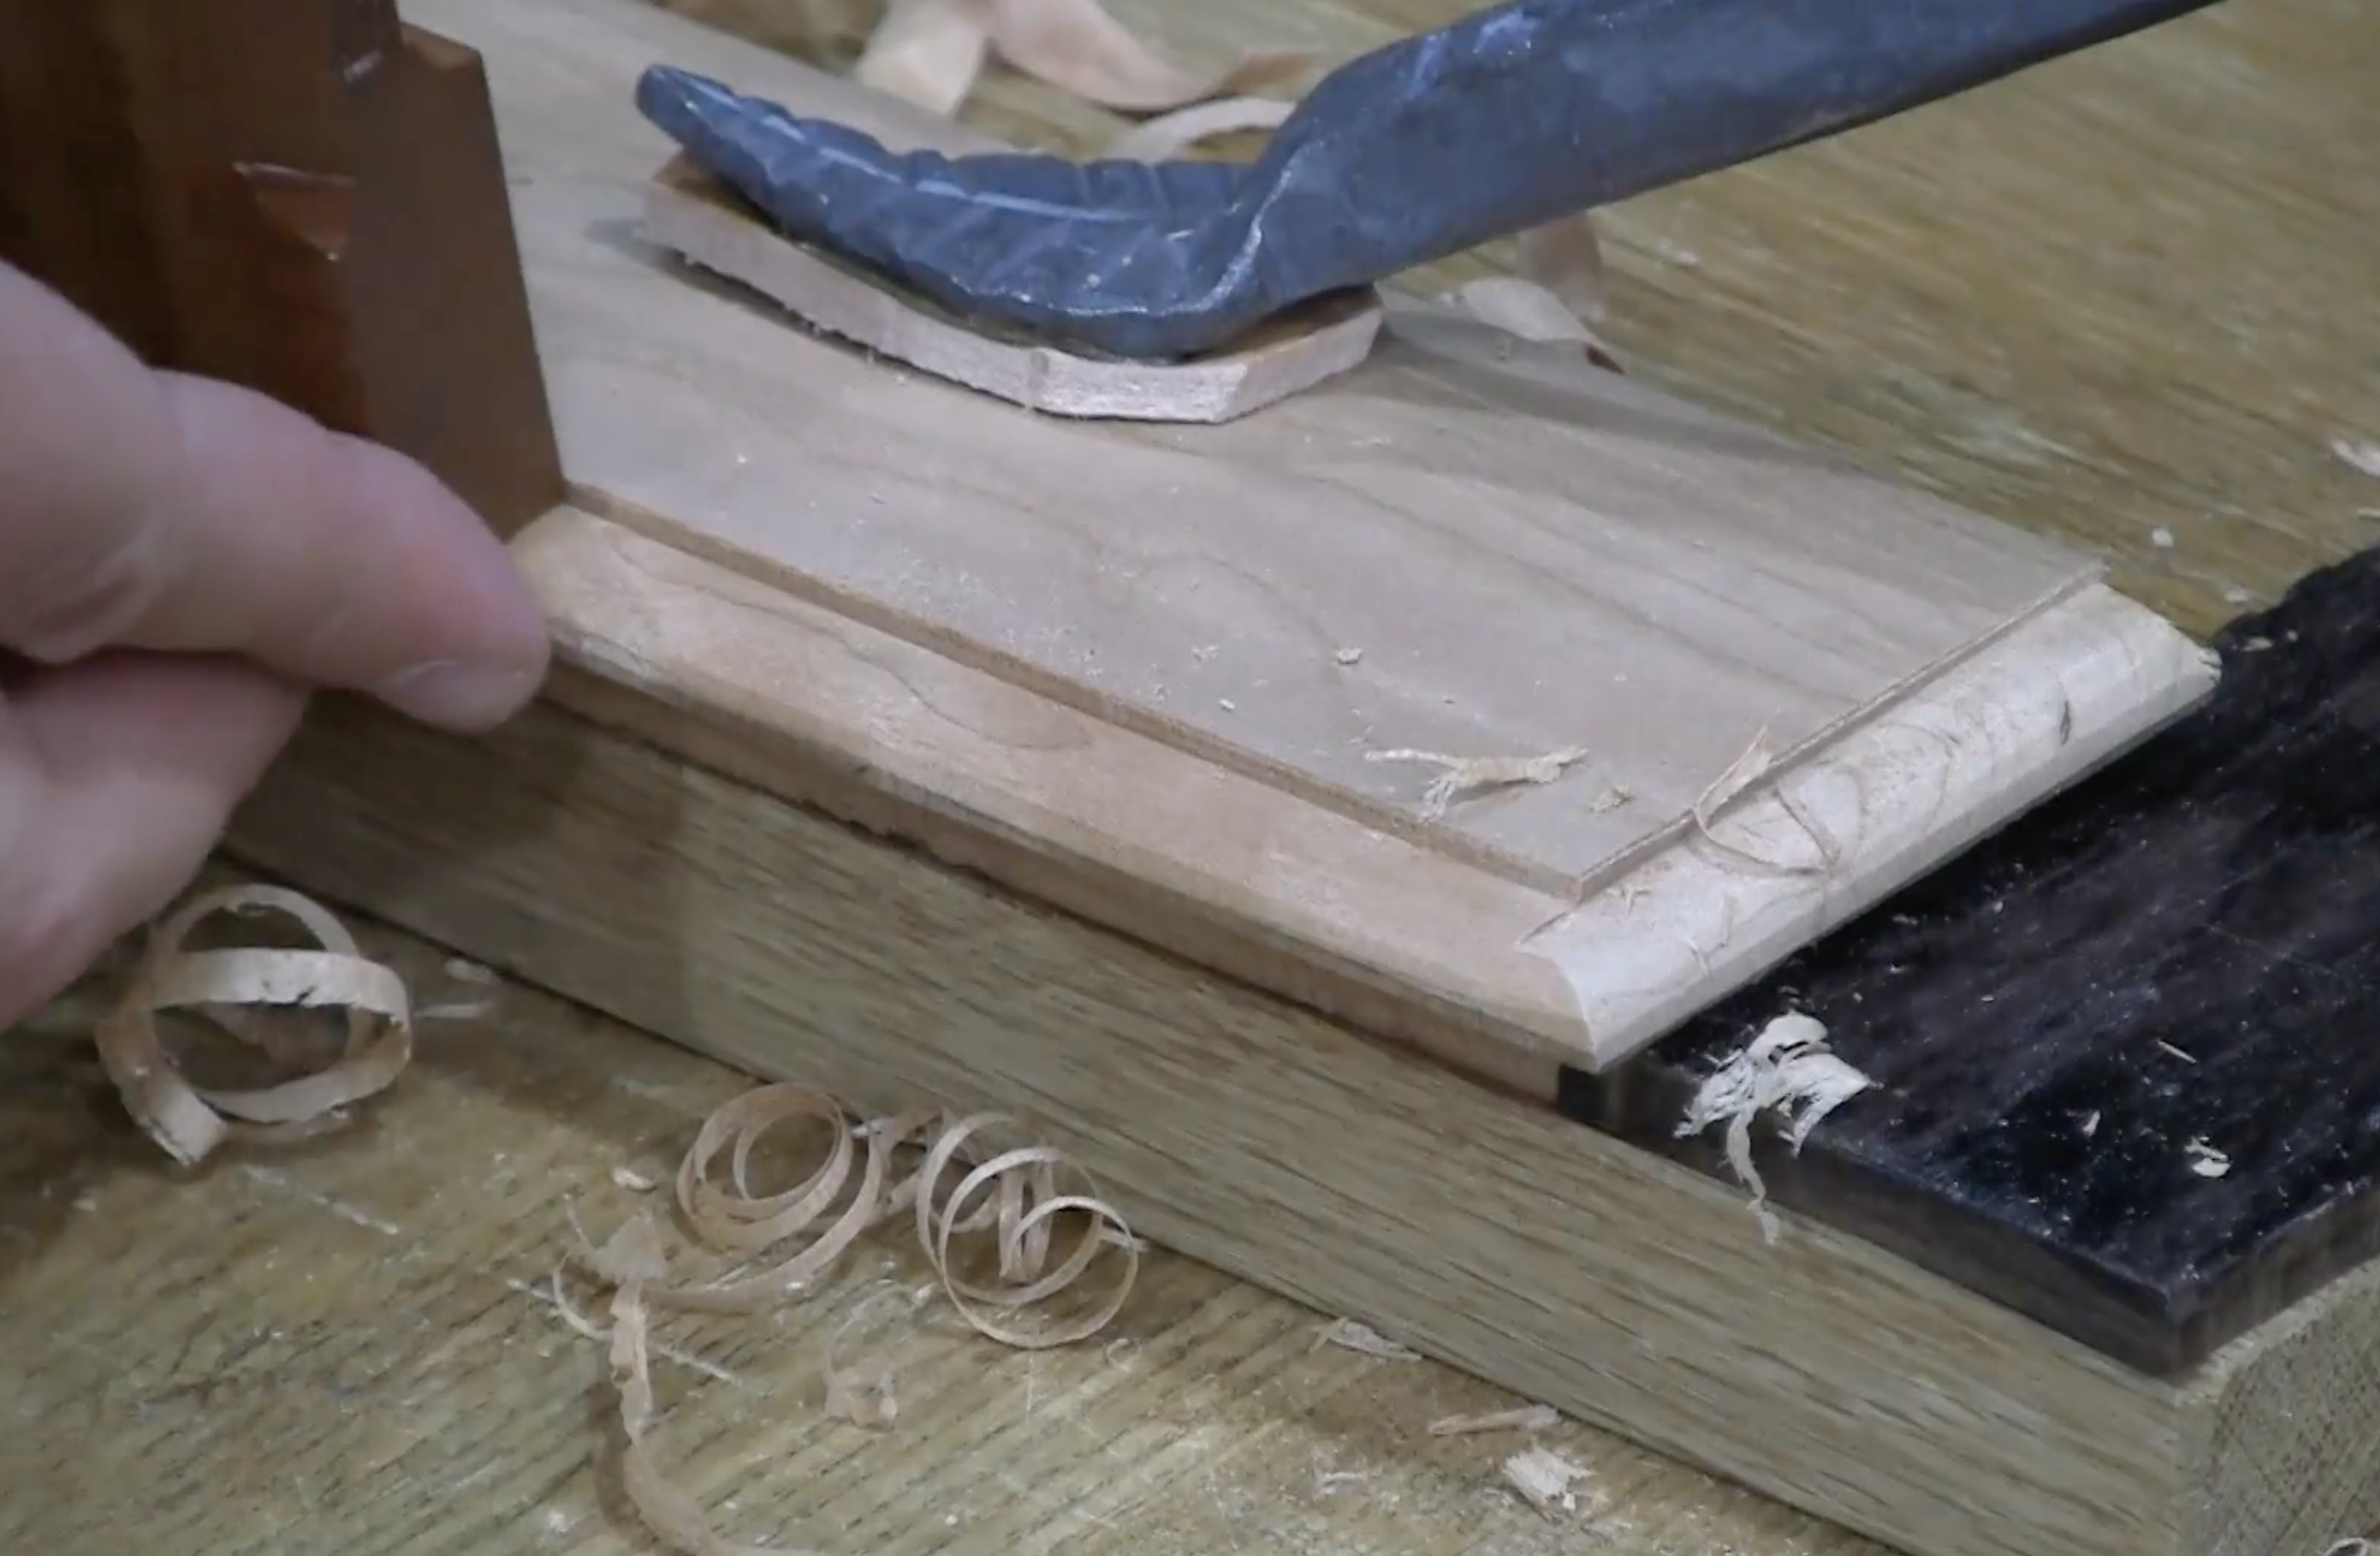
Part 9: Drawers
More dovetailing as I build the 2 drawer boxes but now introduce overlay half blind dovetails. Then I raise a panel for the bottoms and stick an ovolo profile around the drawer fronts. More cross grain moulding work.
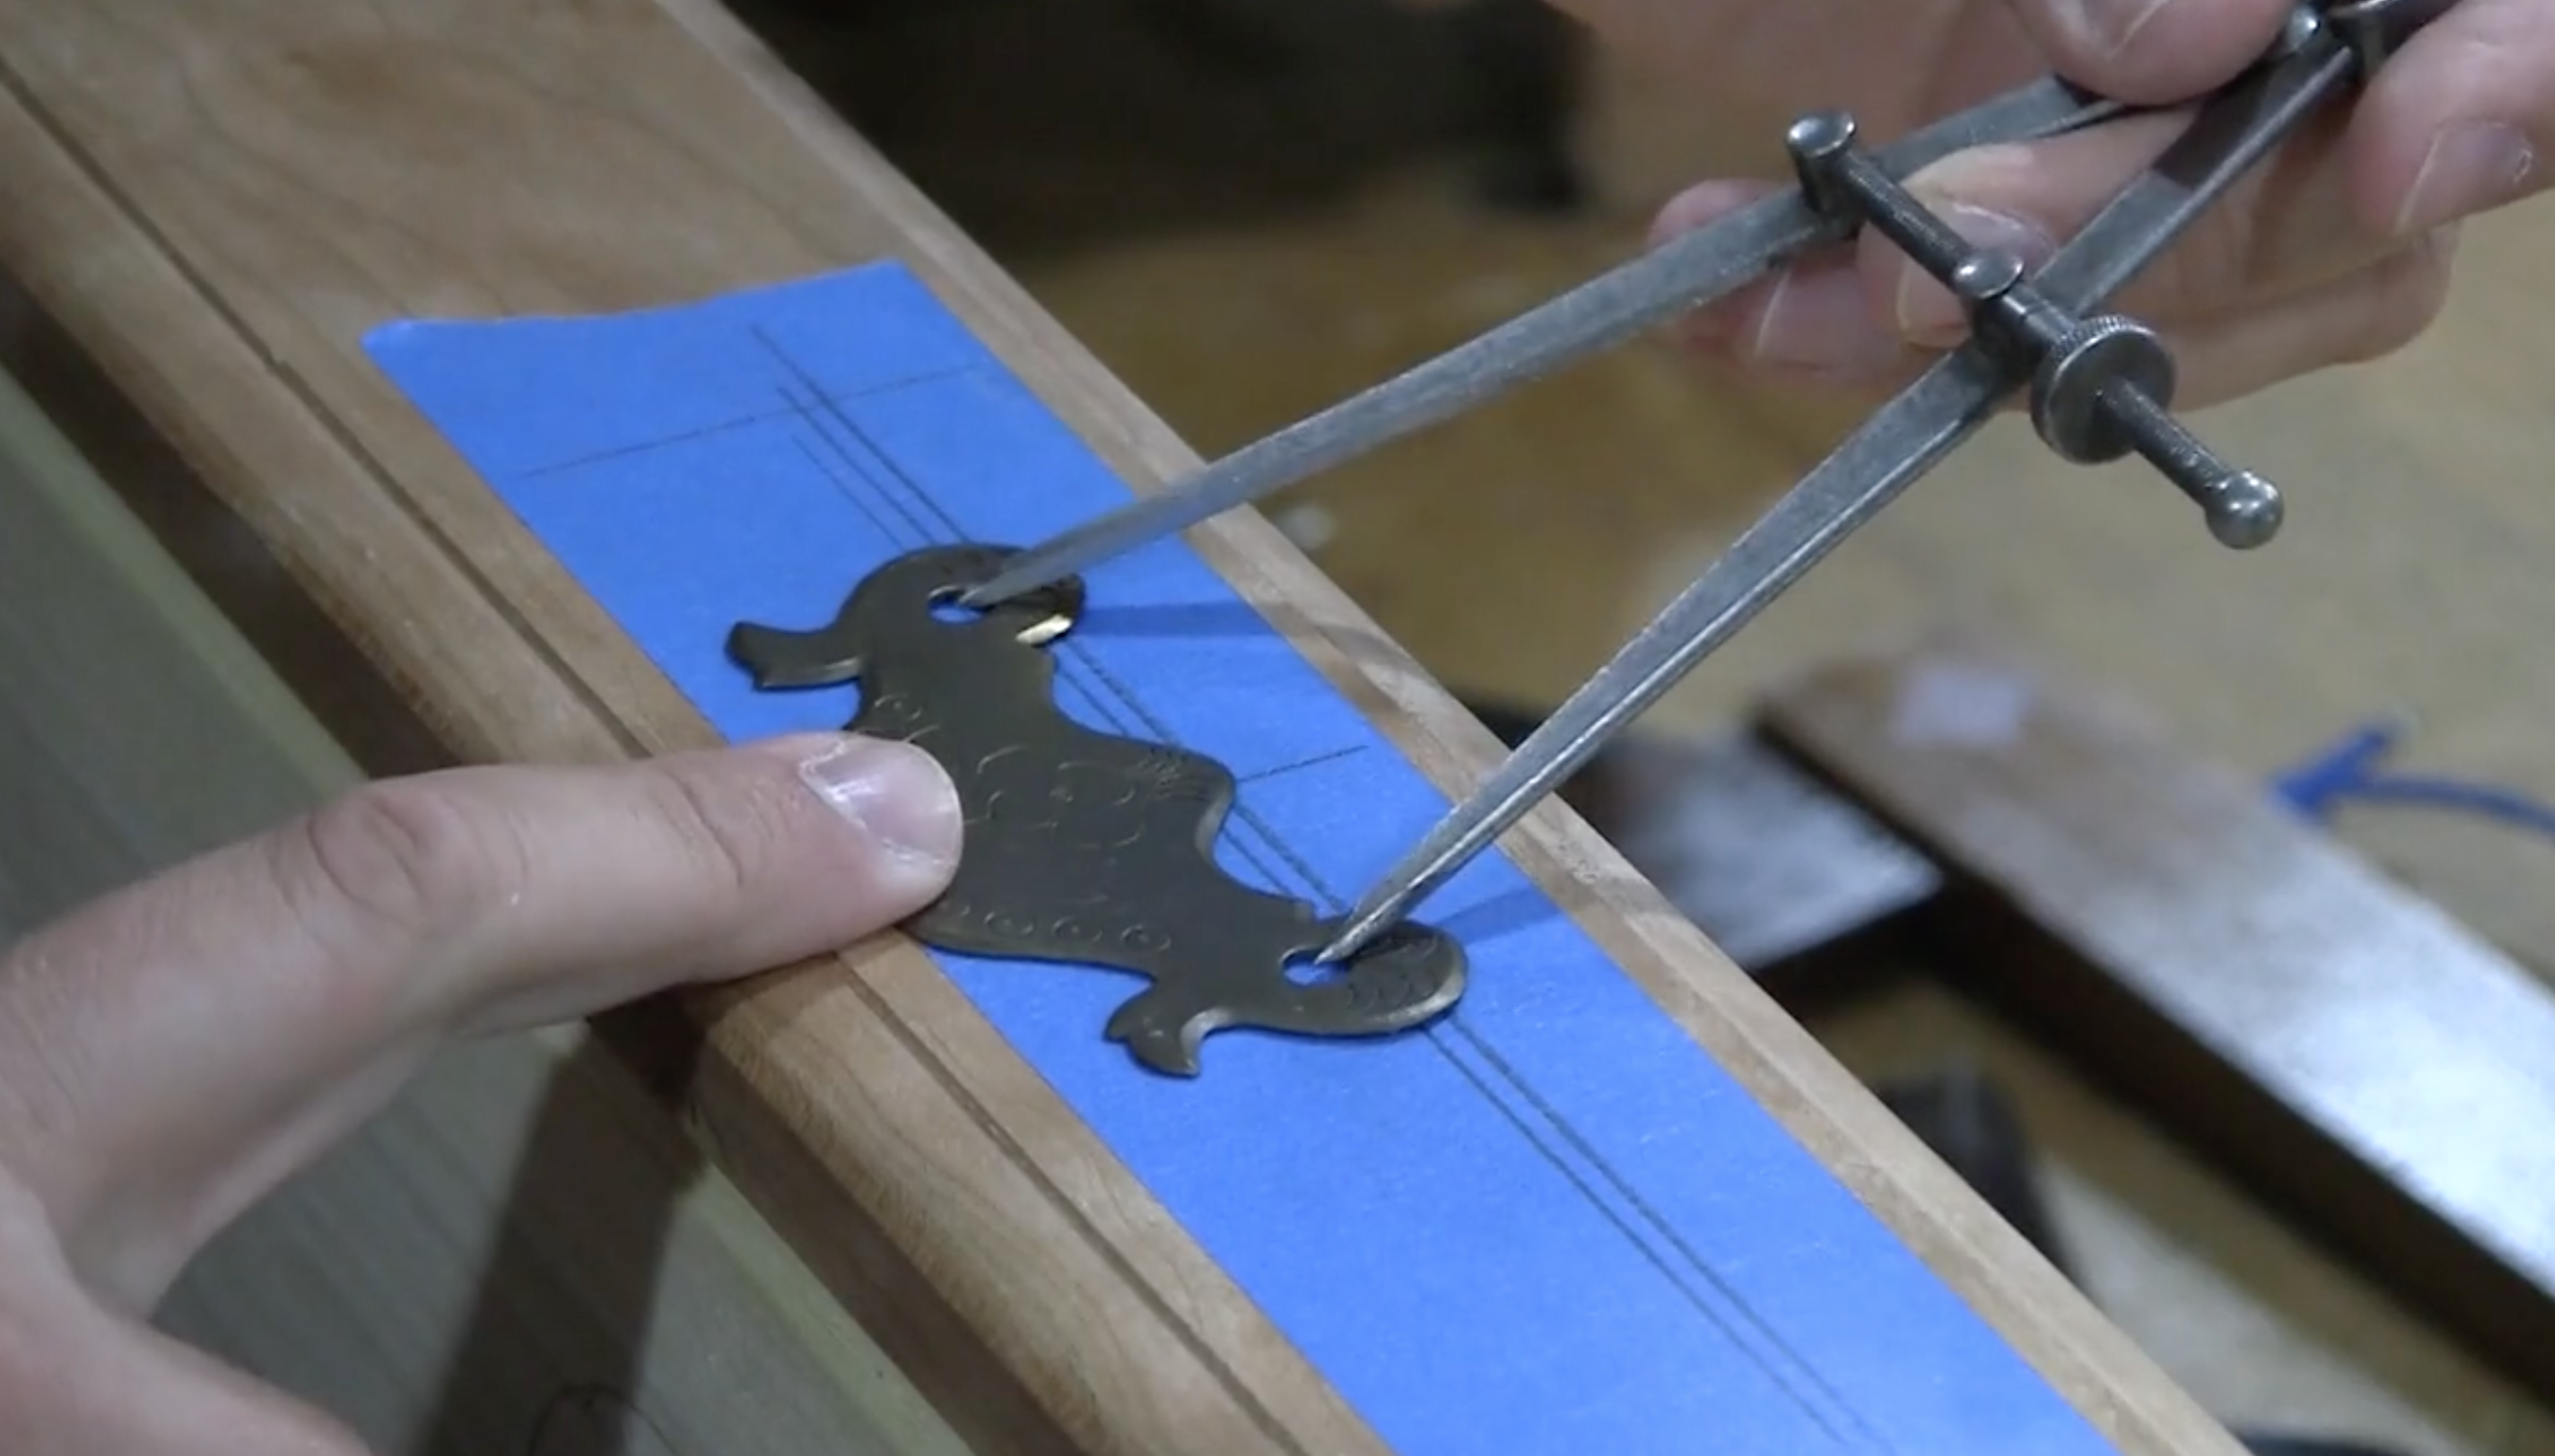
Part 10: Hardware
This chest has a locking lid so I put particular focus on accurate hinge installation so the half mortise lock lines up. Because I did not use an internal til I include a lid stay, then finally add the bail hardware pulls to the drawer fronts.
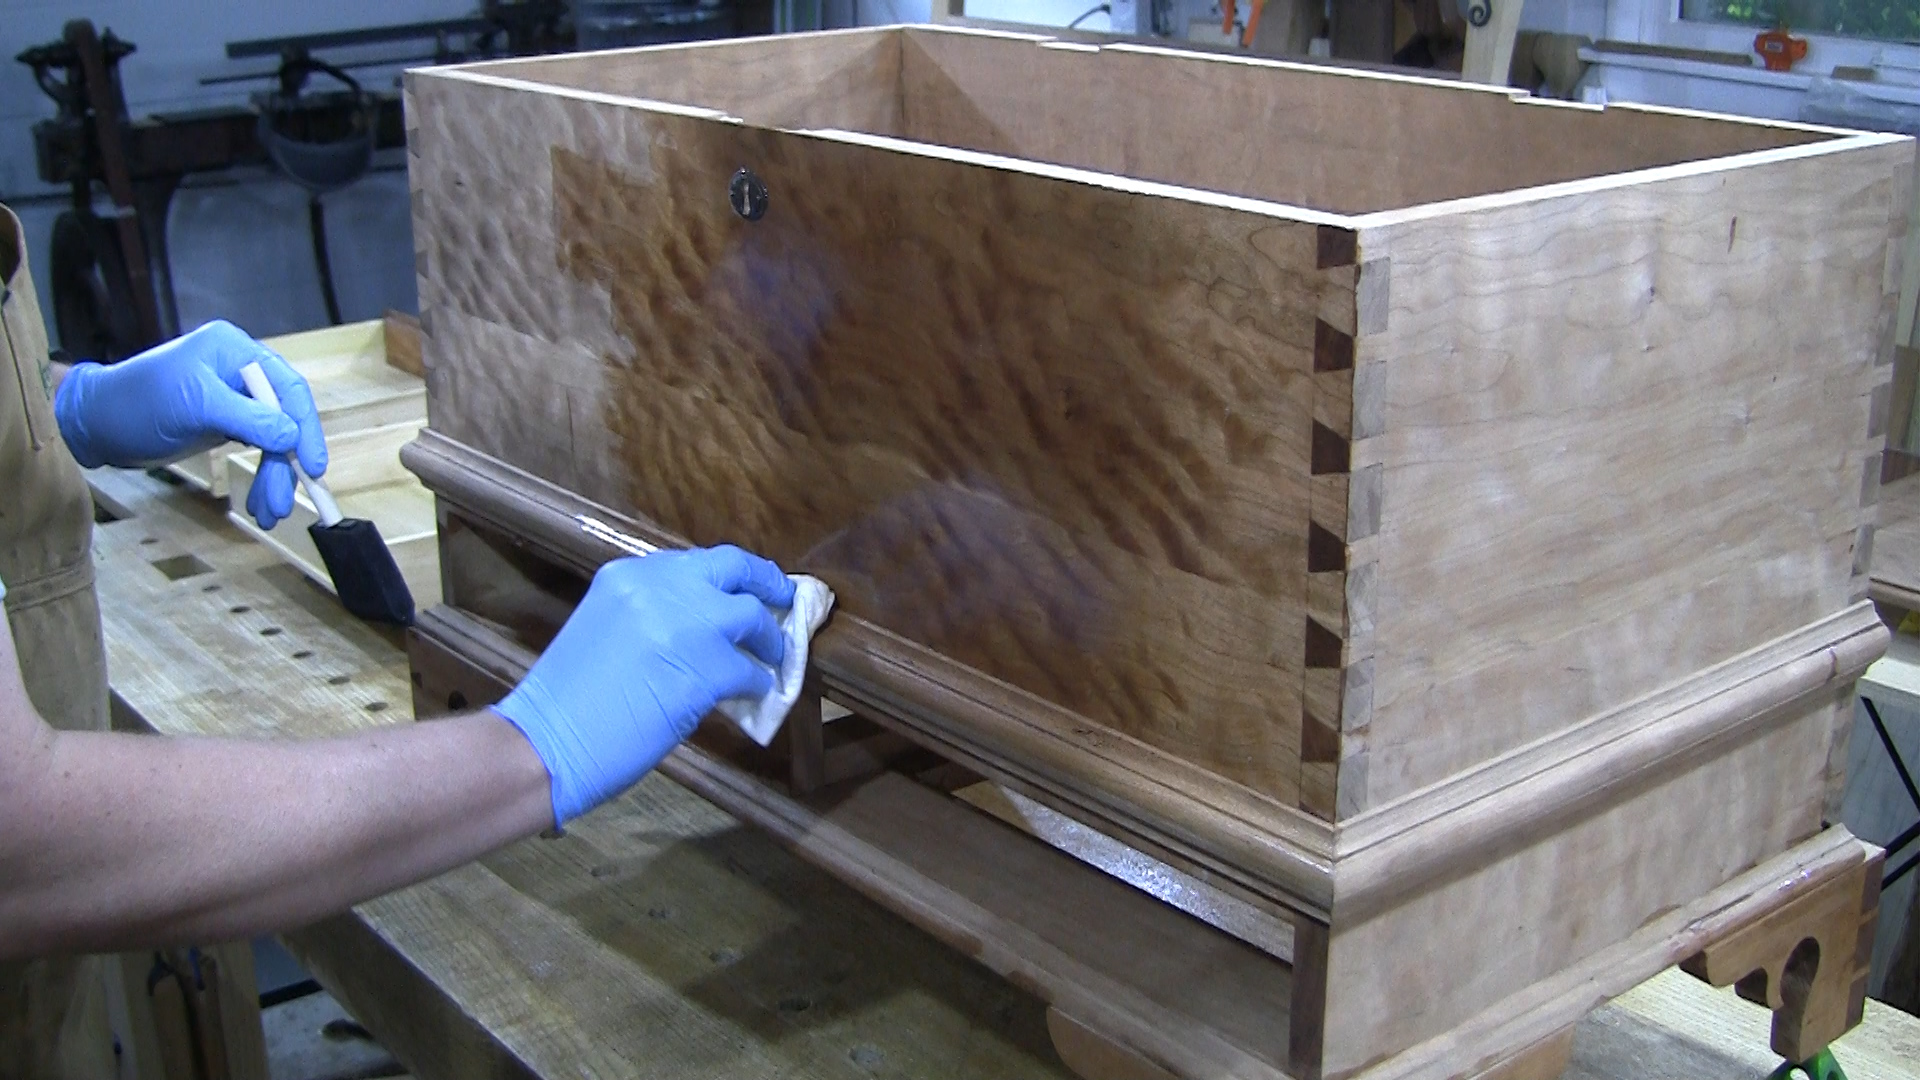
Part 11: Finishing
After all of this work, now is not the time to mess things up with a poor finish. I show how to prepare the project for finish with a smoothing plane and card scrapers to tackle tough figured grain and then brush on an wipe back a water based film finish that will make the figure pop. Finally I wax the drawers so they run smoothly.
As Usual, we build it all with hand tools...
No electrons were harmed during the building of this chest. The dovetails are all hand cut and the moulding profile stuck with hollows and rounds (#6 and #8). Miters and tenons and grooves for the moulding and breadboards round out the skills with a fun challenge of cross grained mouldings across the breadboard ends. Finally I apply a water based finish using a brush and rag technique.
